Plush workshop Derpy
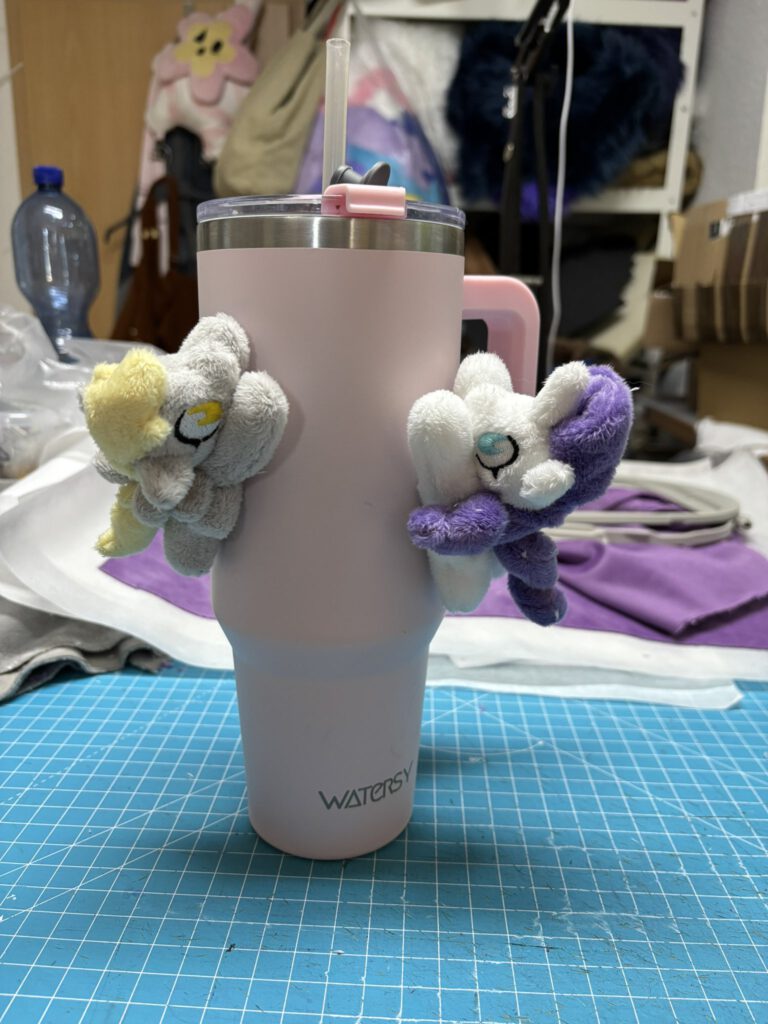
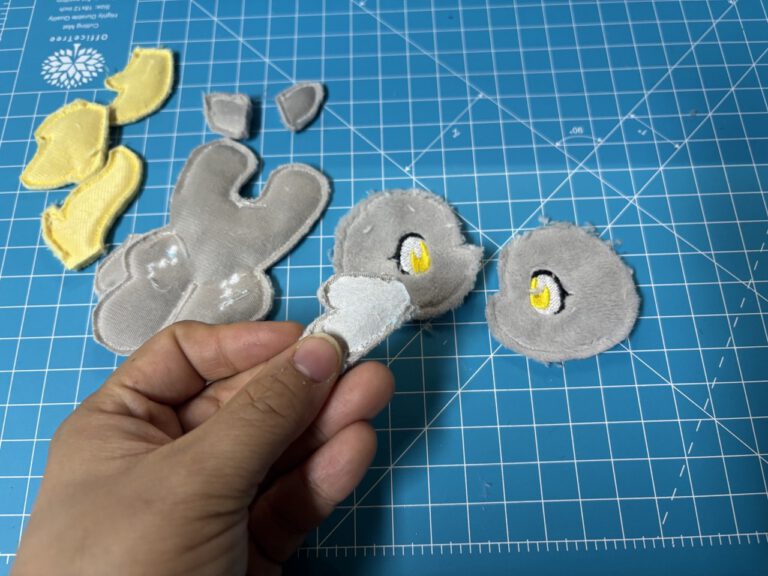
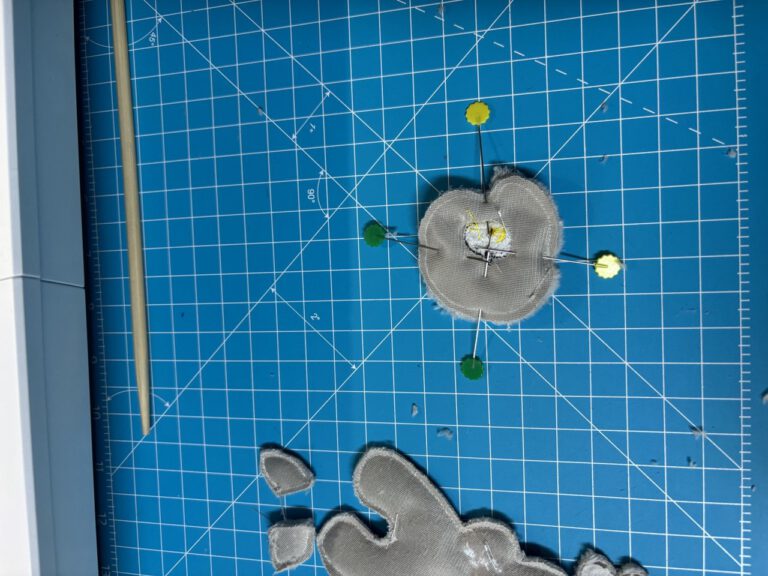
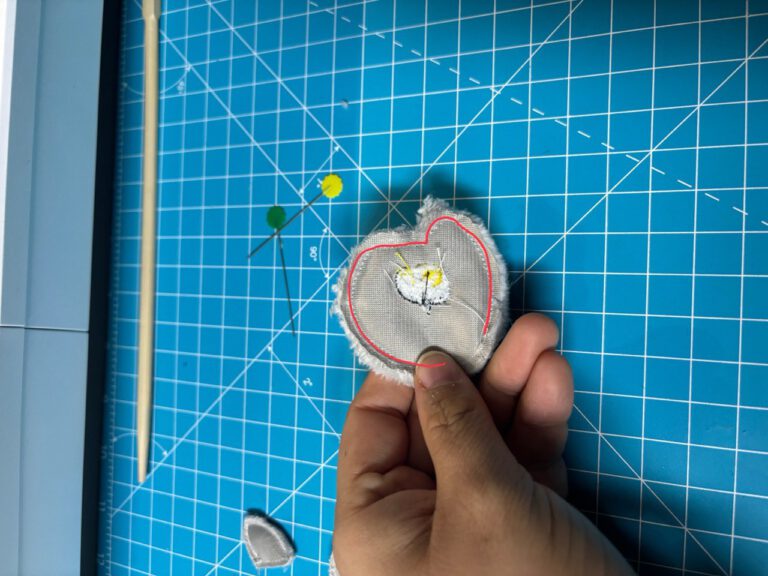
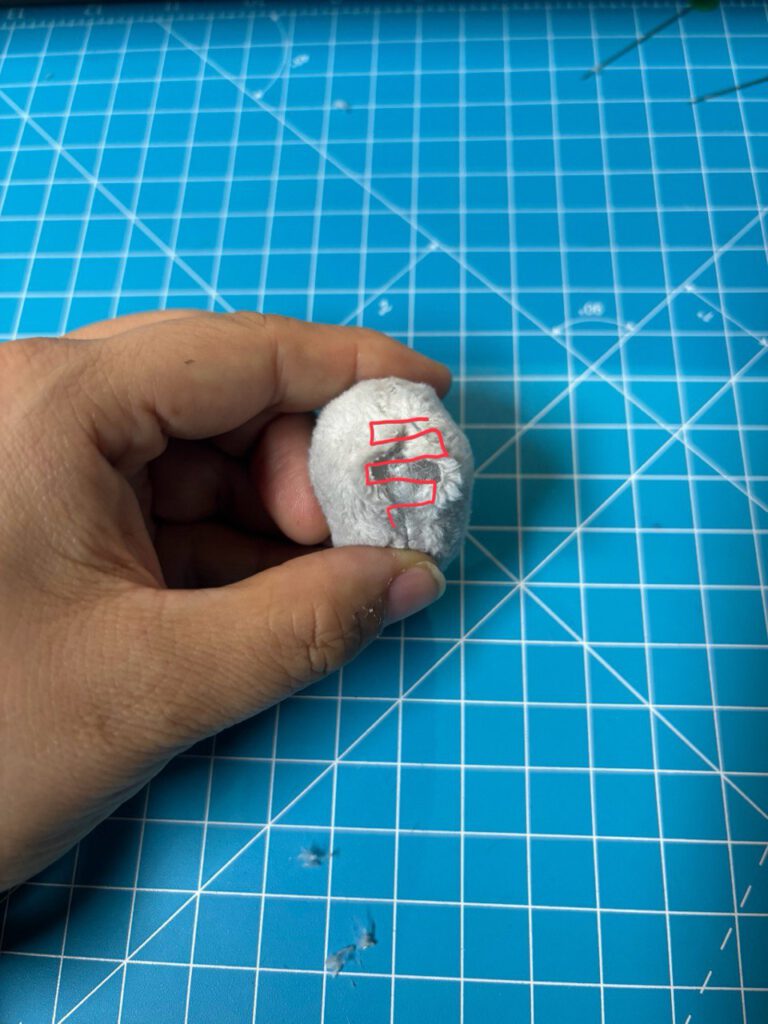
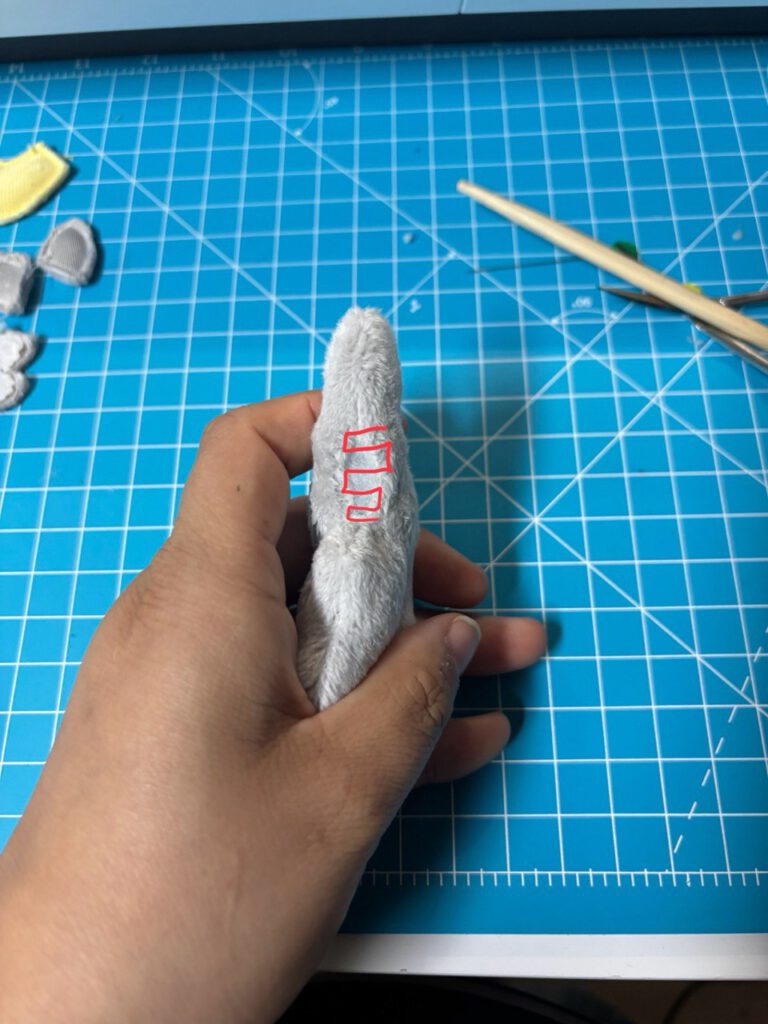
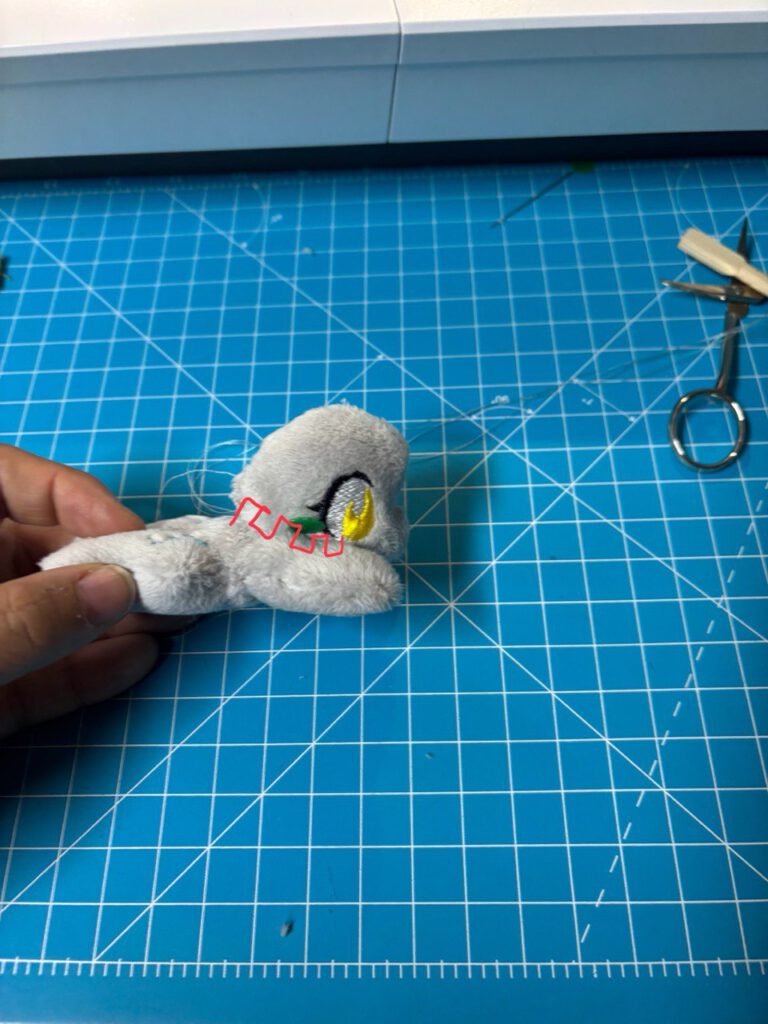
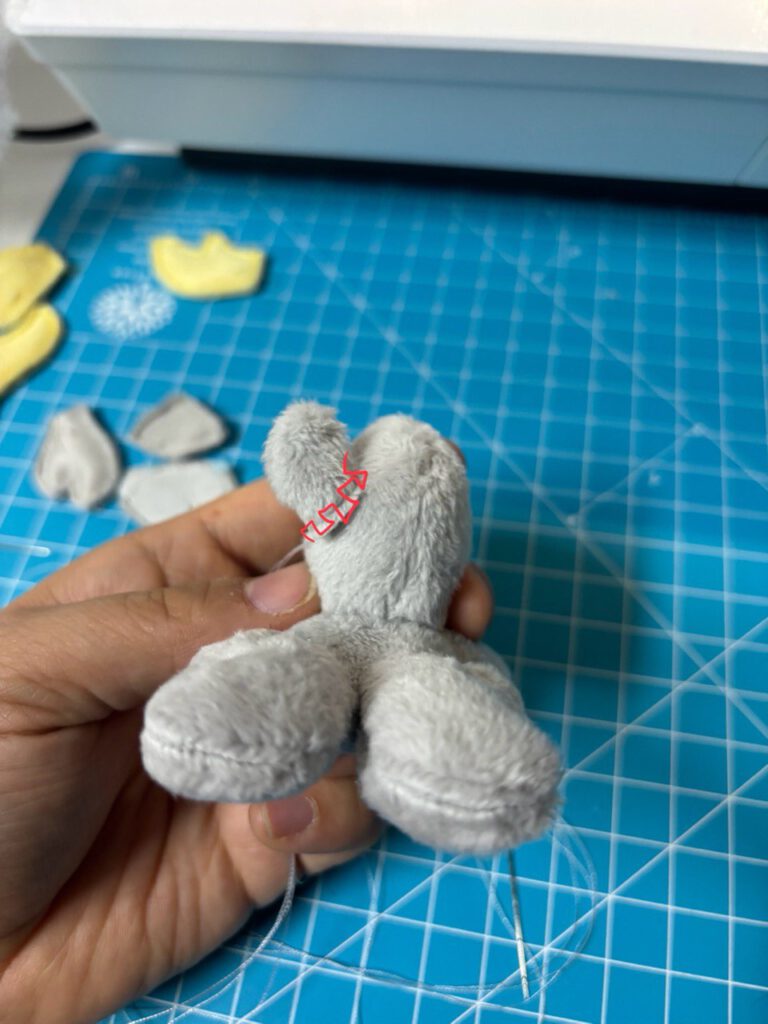
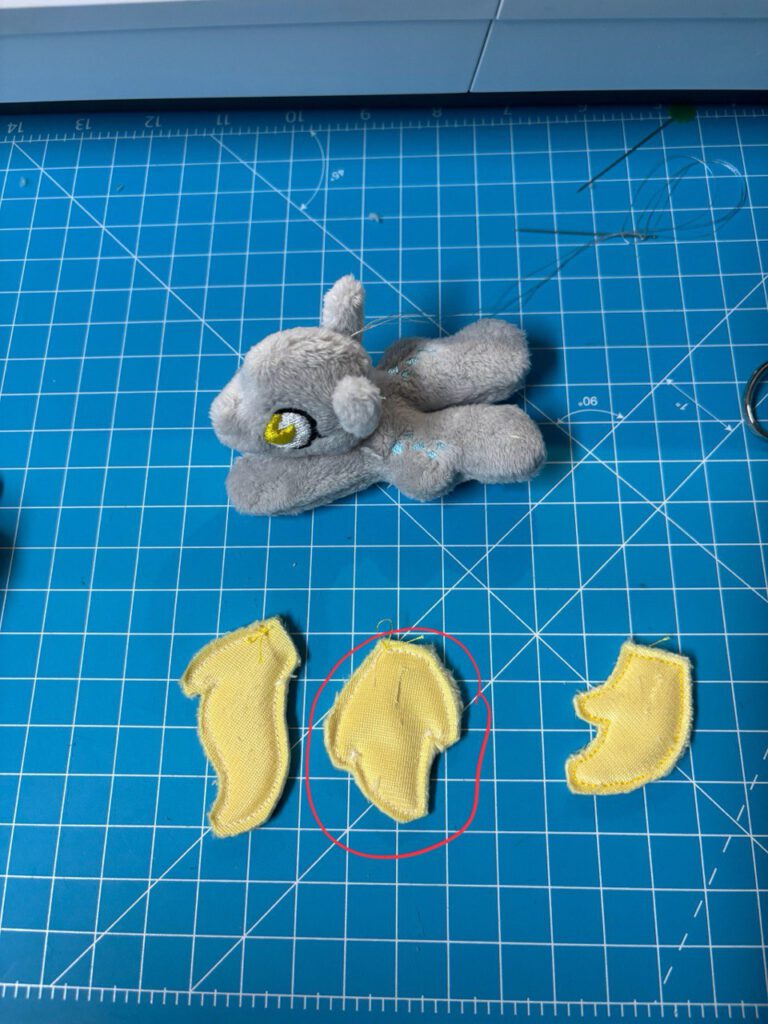
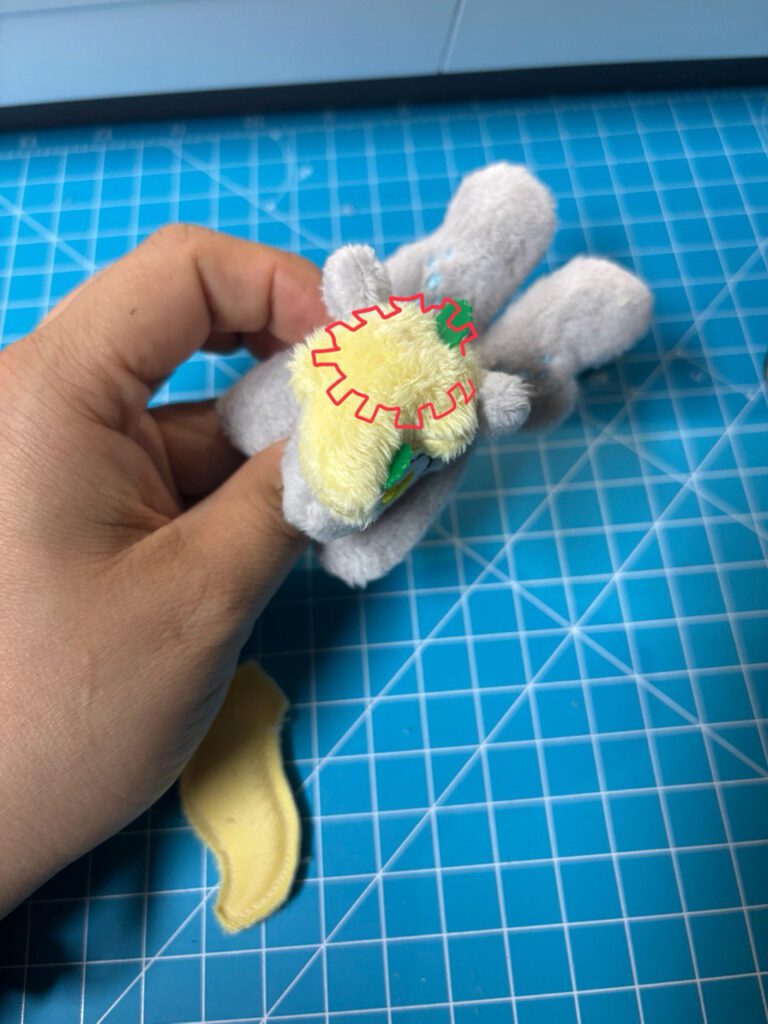
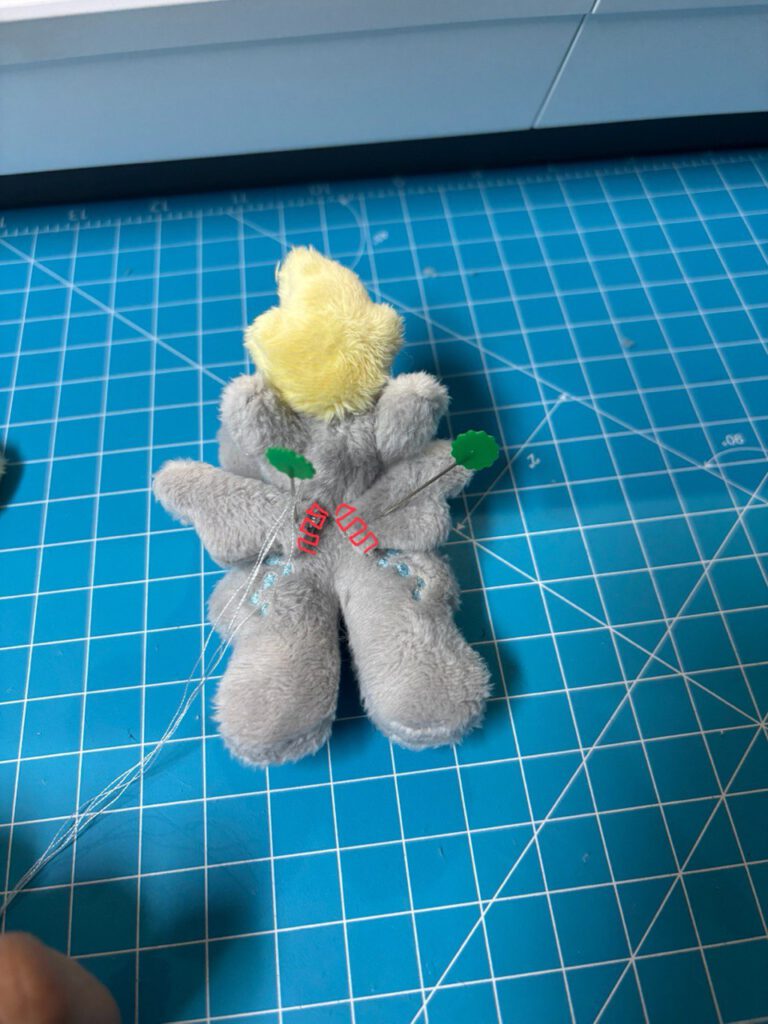
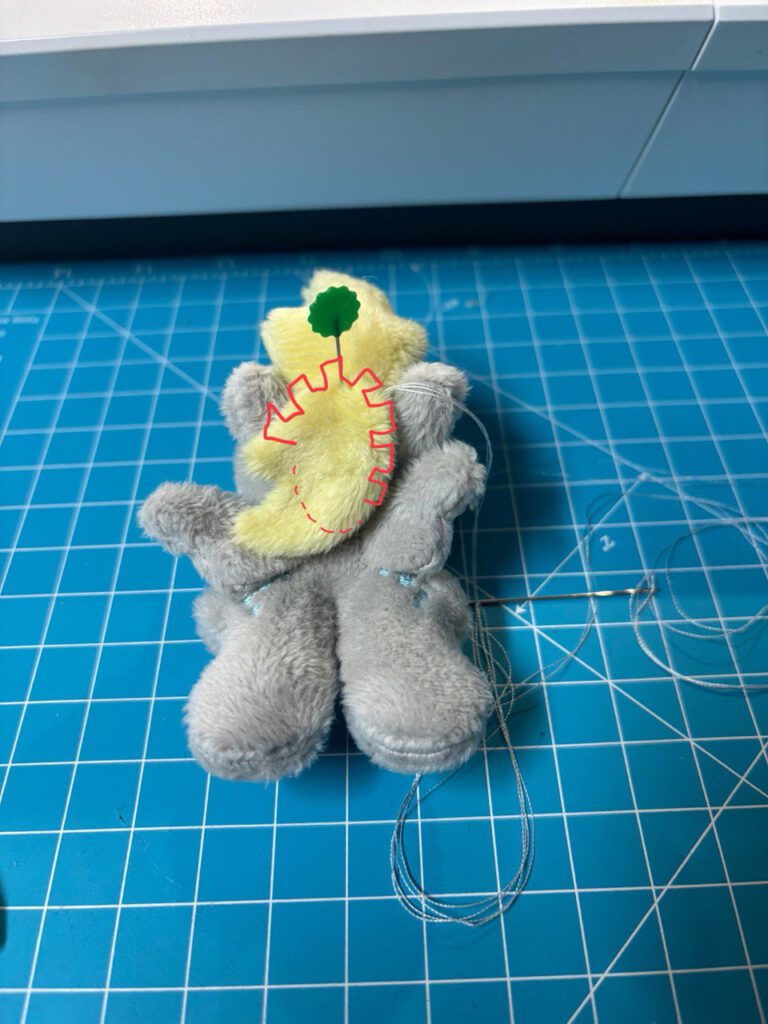
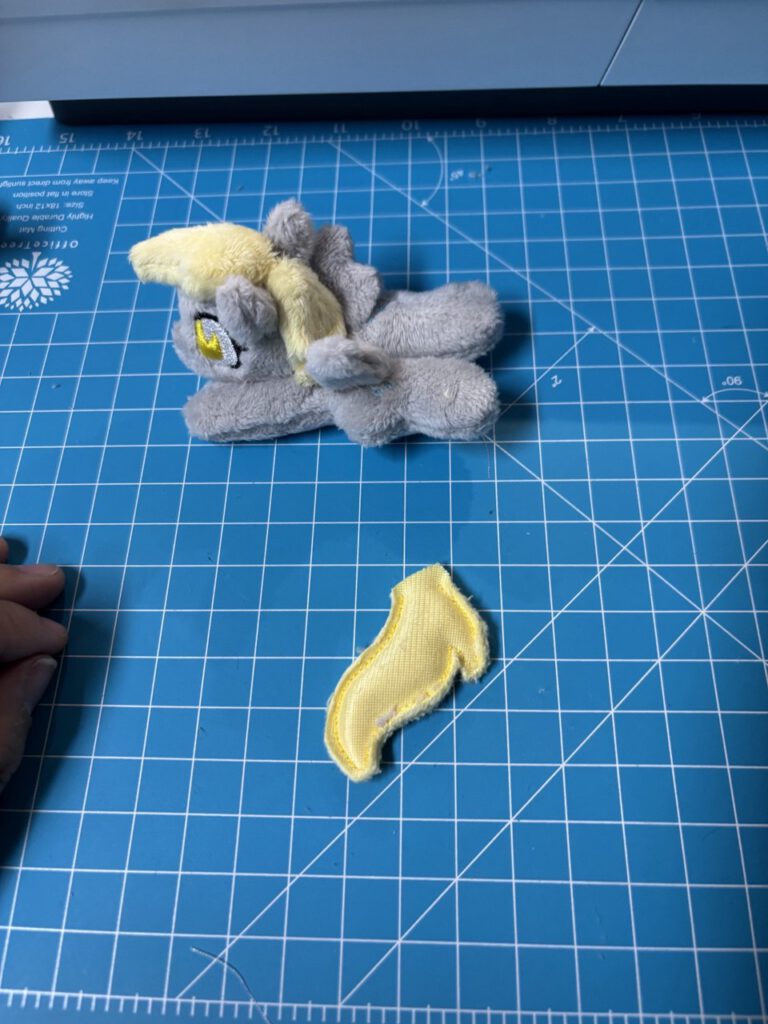
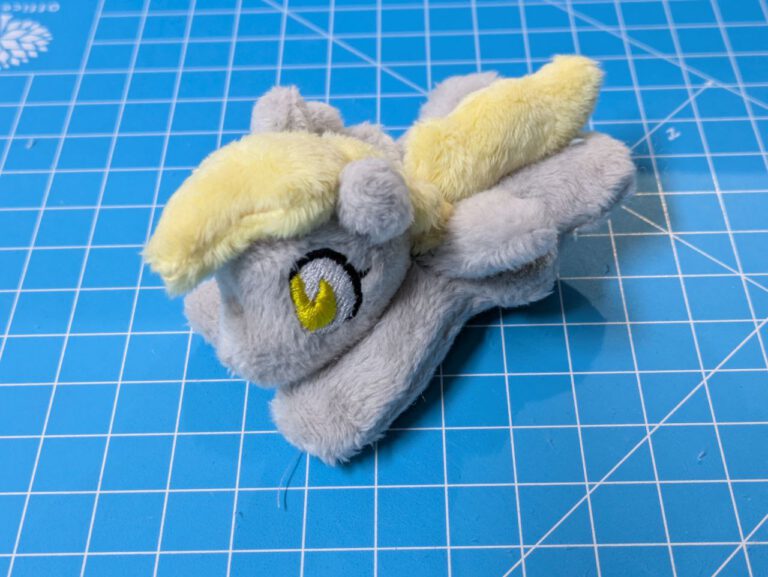
We start of carefully removing all the leftover embroidery backing the rough paper like stuff) and turning all pieces right sides out. 

Be careful to not push to hard when using the chopstick.


Then take the headpieces and pin them right sides together.

(fluffy against fluffy) 

Sew along the edge with a back stitch and leave a little gap (roughly the width of a finger) for turning. Then cut  a notch in to the right angle between nose and forehead. make sure to not accidentally cut in to your seam.

Turn your head inside out and stuff it. Close the opening of the head with a ladder stitch. 

Next stuff your body and add the magnet in to it, then close it as well with a ladderstitch.

Pin your head to the body. If you want you can attach the head in a different angle, looking up or down or to the sides

Take your ears and pinch them together. Feed the needle through both outer corners to make this cute little fold.

Test the positioning of your ears before attaching them and then add them on both sides with a ladder stitch to the head.


Ears and head secured? Now locate the pattern piece with this shape. This is Derpys top part of the mane. Find the pre cut hole to turn the piece right side out and stuff it slightly.


with the hole to the head attach the mane around the top of her head with a ladder stitch.


now pin her wings to the back and attach them with a ladderstitch.


Now we come to the more tricky part as there is not much room. pin the back of her mane to her head and attach it with a ladderstitch. As already said: this part can be very tricky with the tight space so take your time.


You mastered the back of her mane? AMAZING! 

Now you just have to turn around her tail an stuff it slightly. it will be attached with a ladderstitch in the space between her cutie mark.

And your little friend is done!