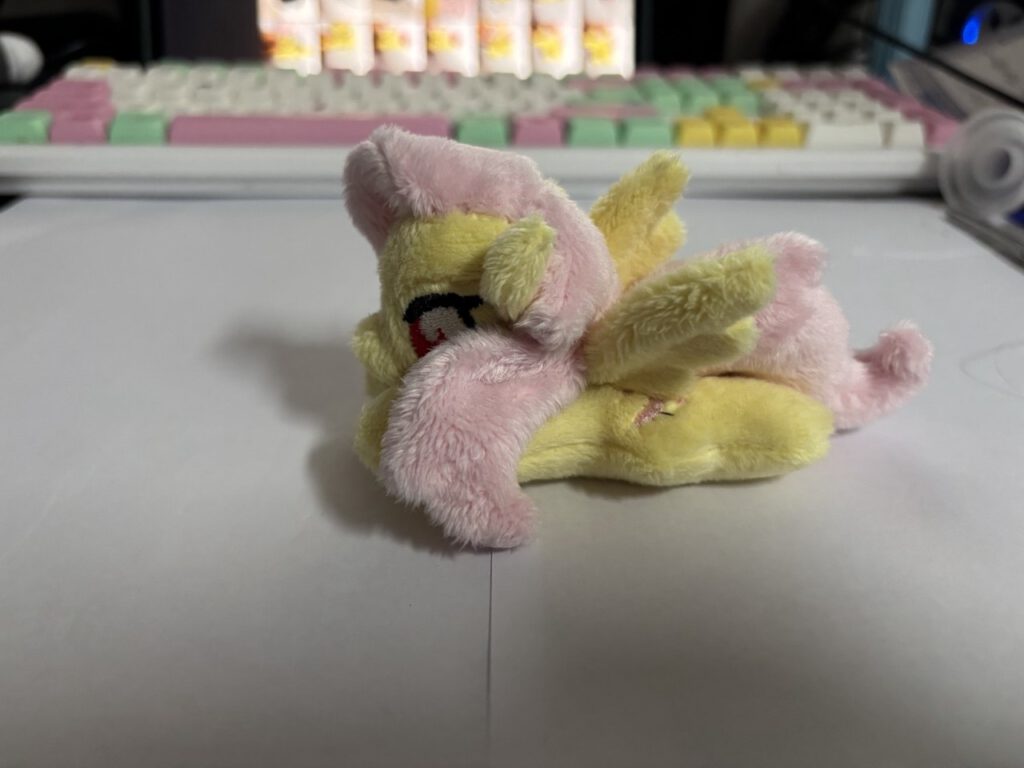
Explore our diverse collection, available in various sizes to meet your preferences. Each plushie is meticulously crafted with attention to detail and comes equipped with an NFC tag for a modern touch.
Plush workshop Flutterbat
Here are little tutorial videos for the stitches we need today.
How to thread the needle
How to end sewing
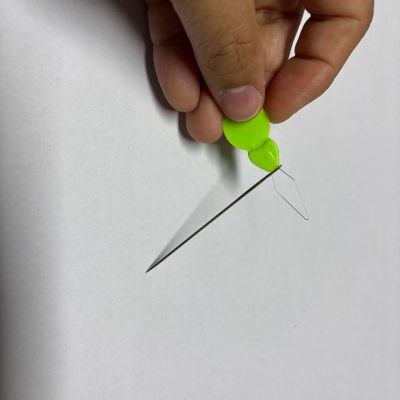
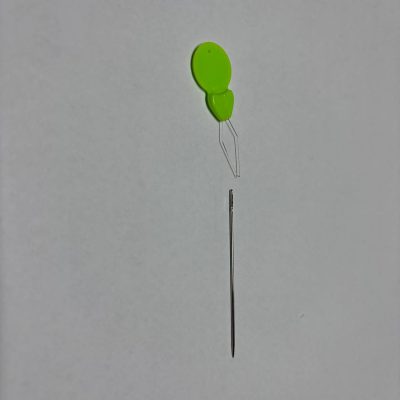
Take a needle and the threading aid.
You can also do it without the aid, when your eyes are good.
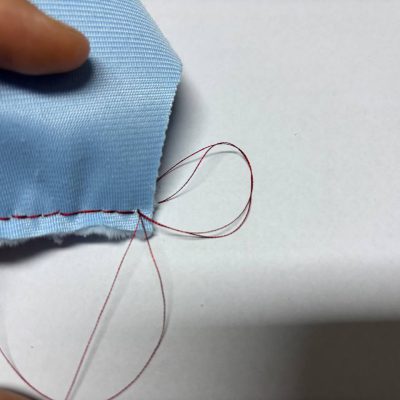
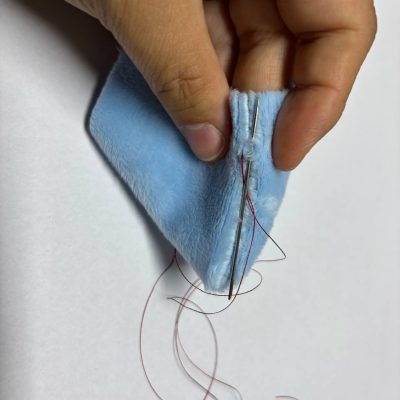
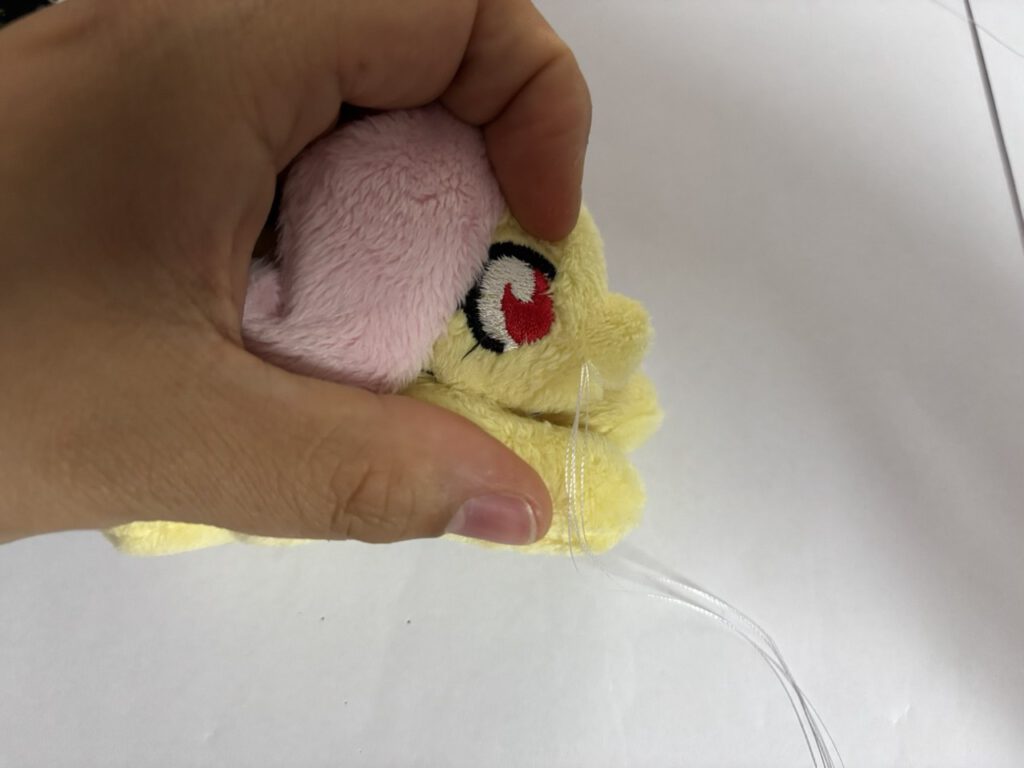
To finish a backstitch, pull the thread through the fabric and over the edge, to create a loop. like in the photo.
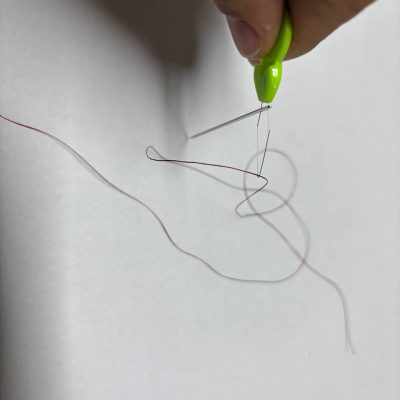
put the aid through the ear (the hole) of the needle.
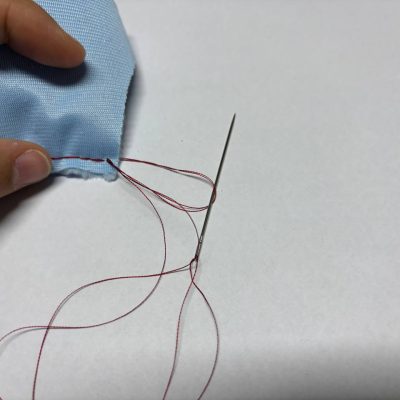
pull the needle through the loop and pull tight, to create a knot. Do this at least 3 times to make sure that it is closed.
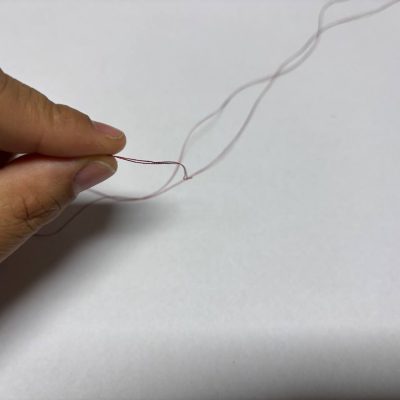
Pull a few centimeters of your thread through the thin wires of the aid. now pull the thread aid out of the ear and the thread will be pulled through
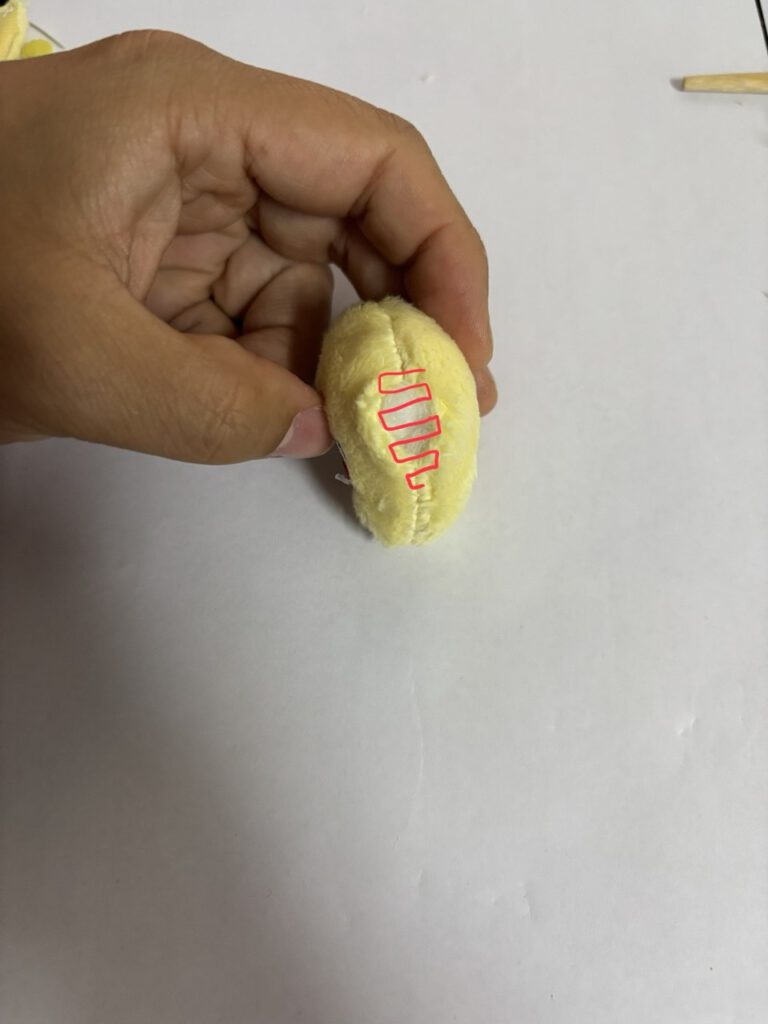
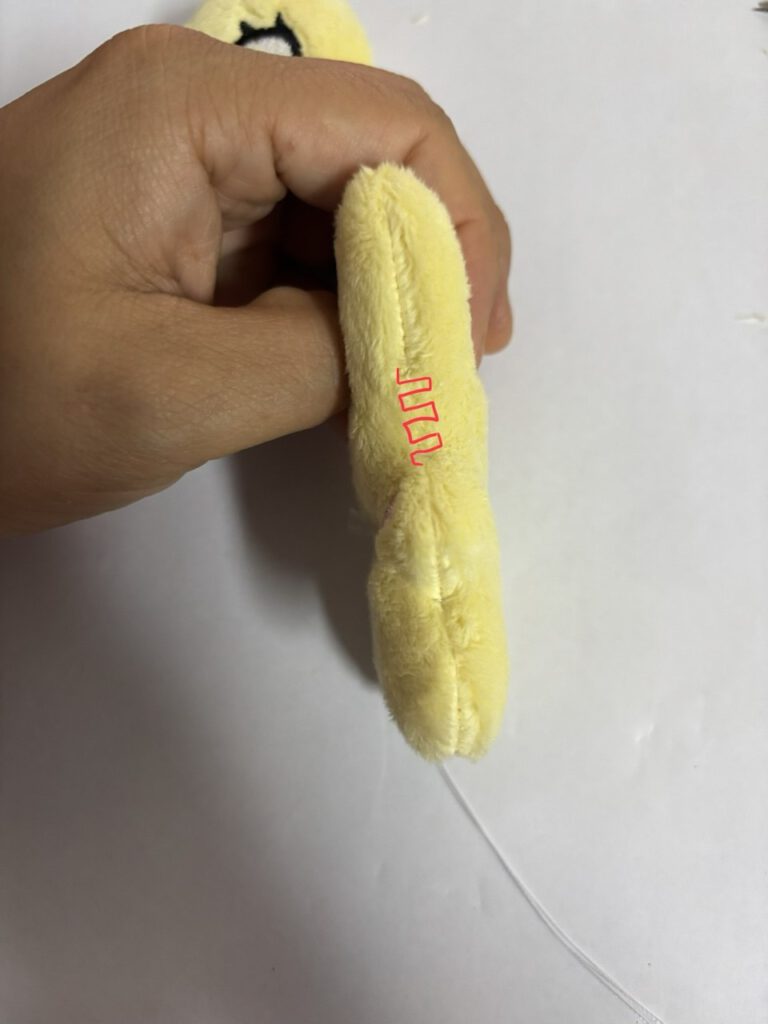
To close a ladderstitch you basically do the same, but try to hide the knot in between fabric pieces or an already existing seam close to your end.
now pull both ends of the thread to the same length and make a knot.
Now you can start sewing.
after making the knots, pull your needle next to the knot through the fabric and choose a spot to come out further away from it. Pull it slightly tight and cut it close to the body. Thread should be pulled back in to the body and be hidden.
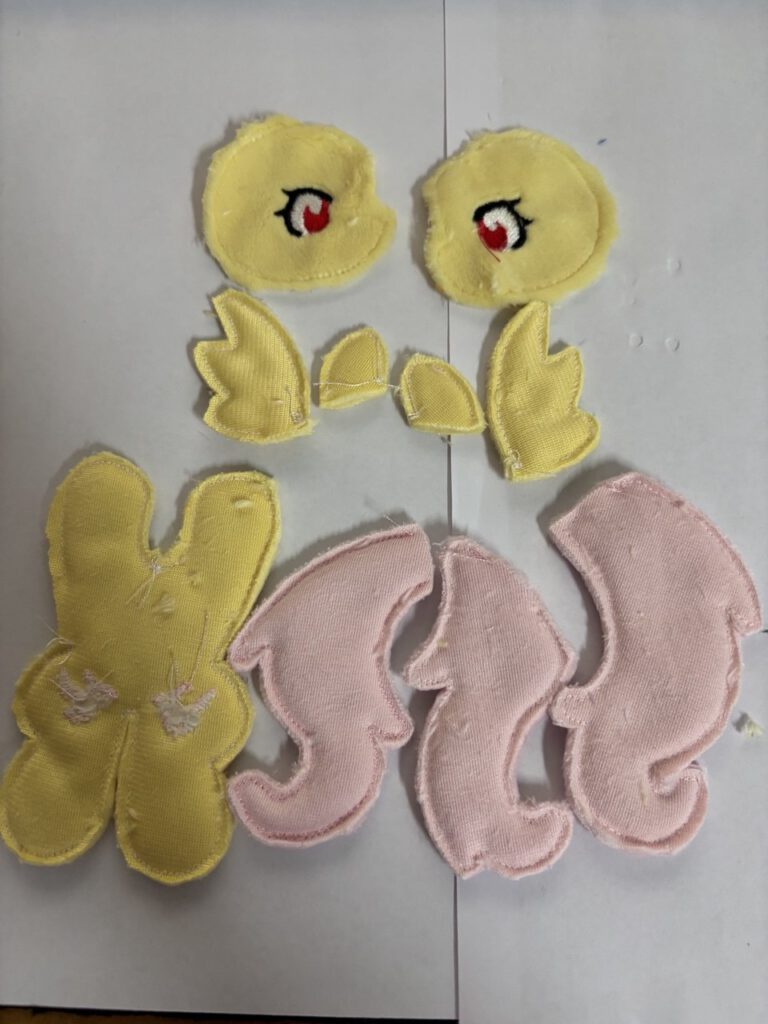
We start bycarefully removing all the leftover embroidery backing the rough paper like stuff) and turn except for the mane parts everything inside out.
Be careful to not push to hard when using the chopstick.
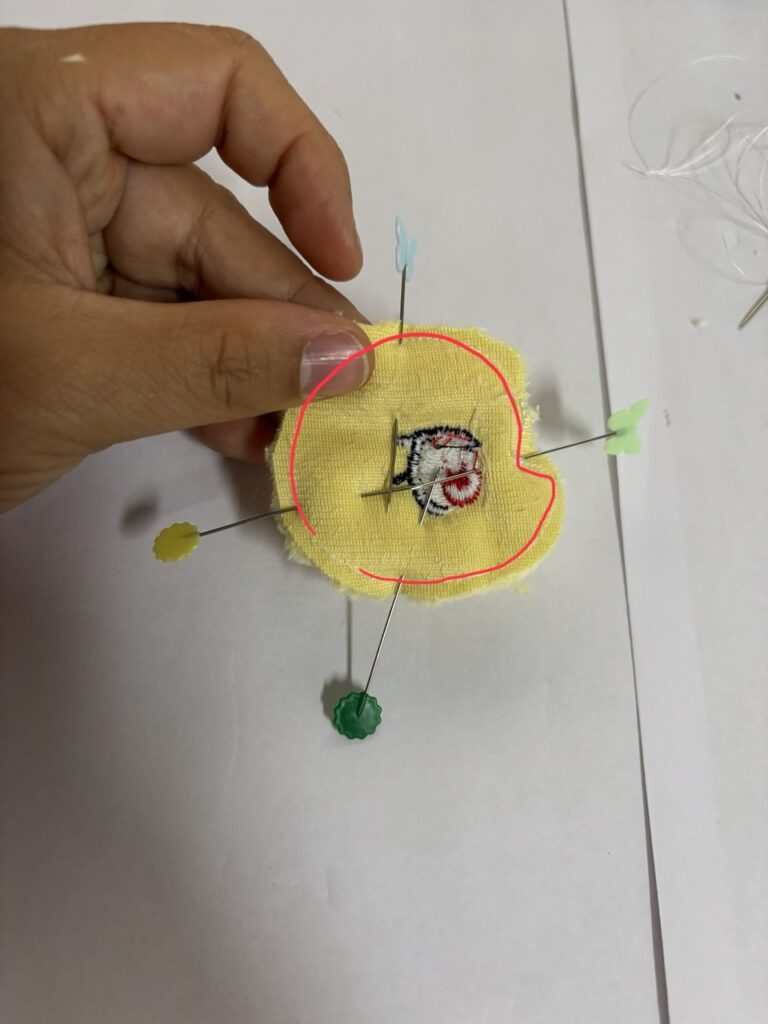
Then take the headpieces and pin them right sides together.
(fluffy against fluffy)
Sew along the edge with a back stitch and leave a little gap (roughly the width of a finger) for turning.
Turn your head inside out and stuff it. Close the opening of the head with a ladder stitch.
Next stuff your body and add the magnet in to it, then close it as well with a ladderstitch.
(for better visibility there is a picture of another plush, but its the same process)
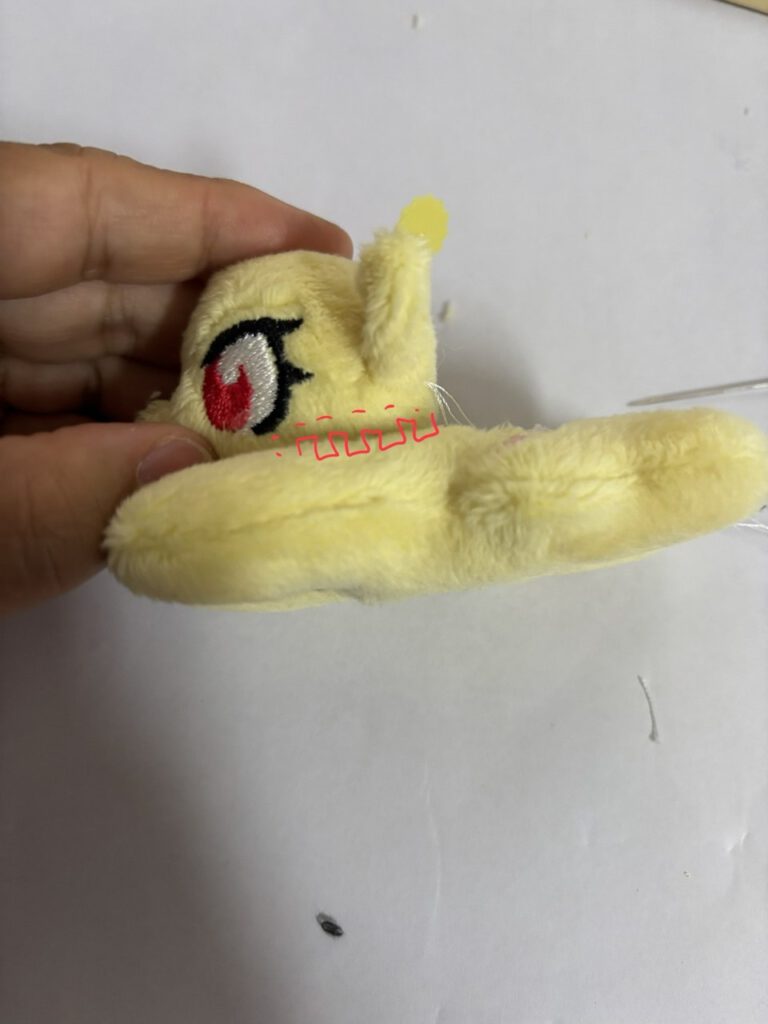
Pin your head to the body. If you want you can attach the head in a different angle, looking up or down or to the sides
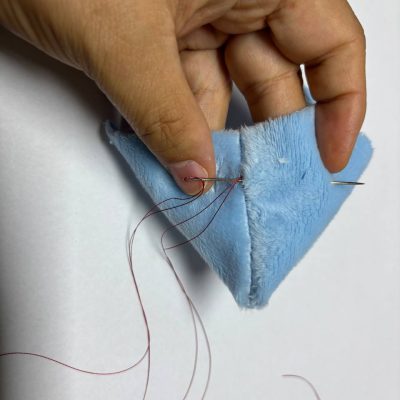
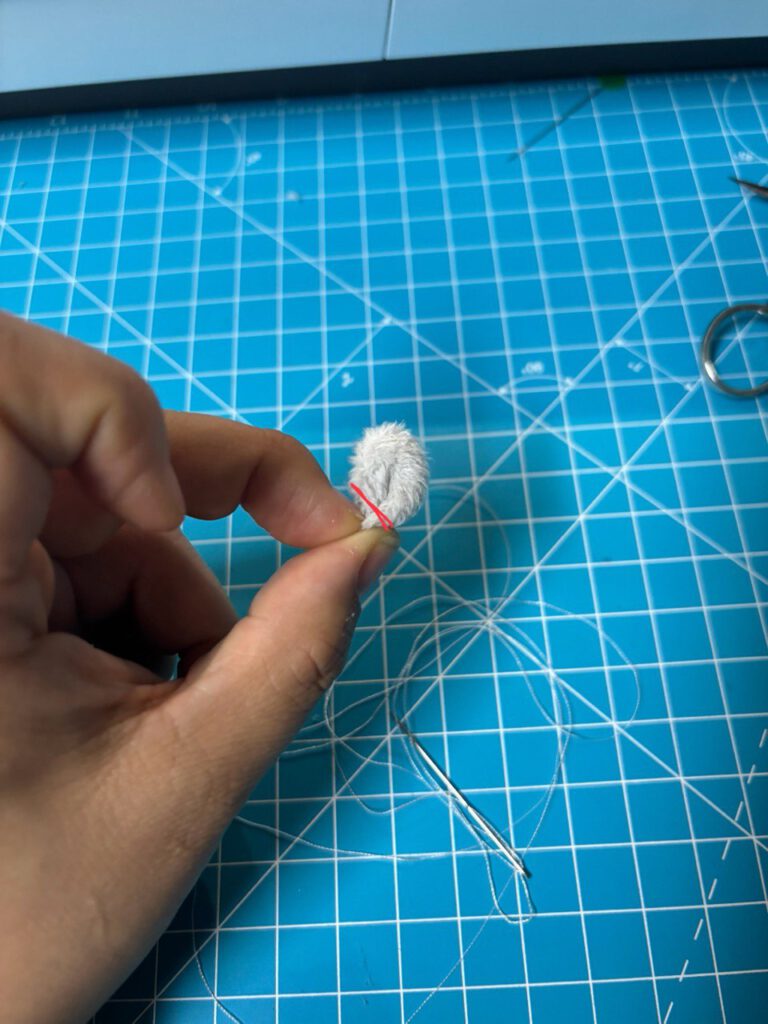
Take your ears and pinch them together. Feed the needle through both outer corners to make this cute little fold.
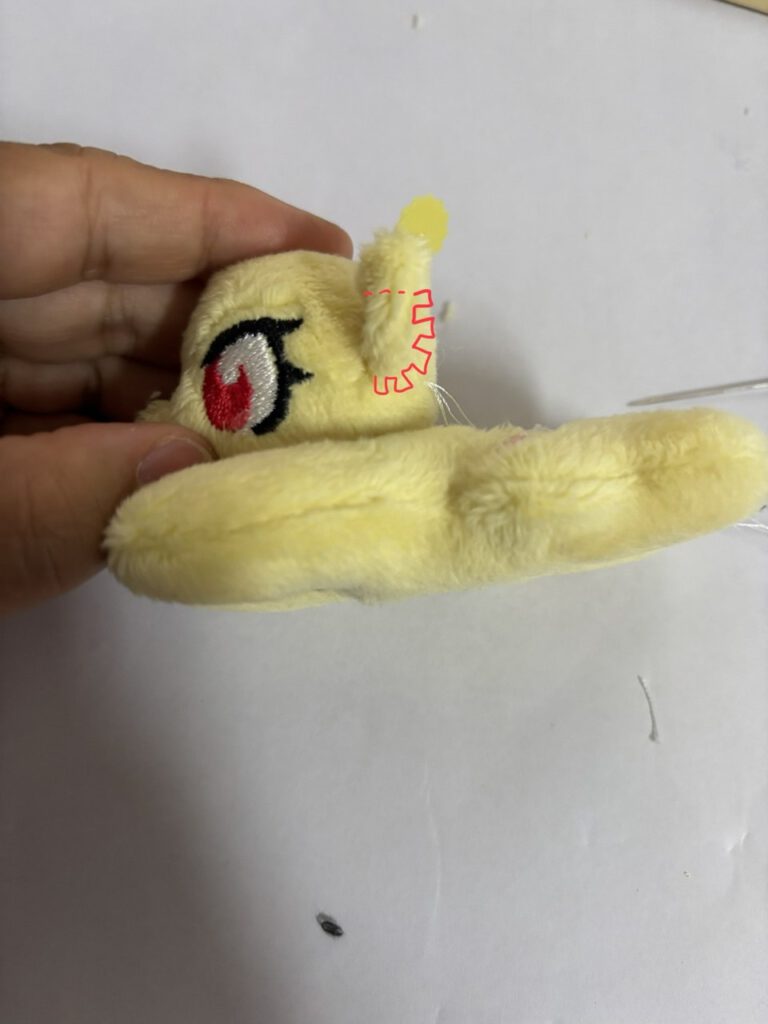
Test the positioning of your ears before attaching them with a ladderstitch to both sides of the head.
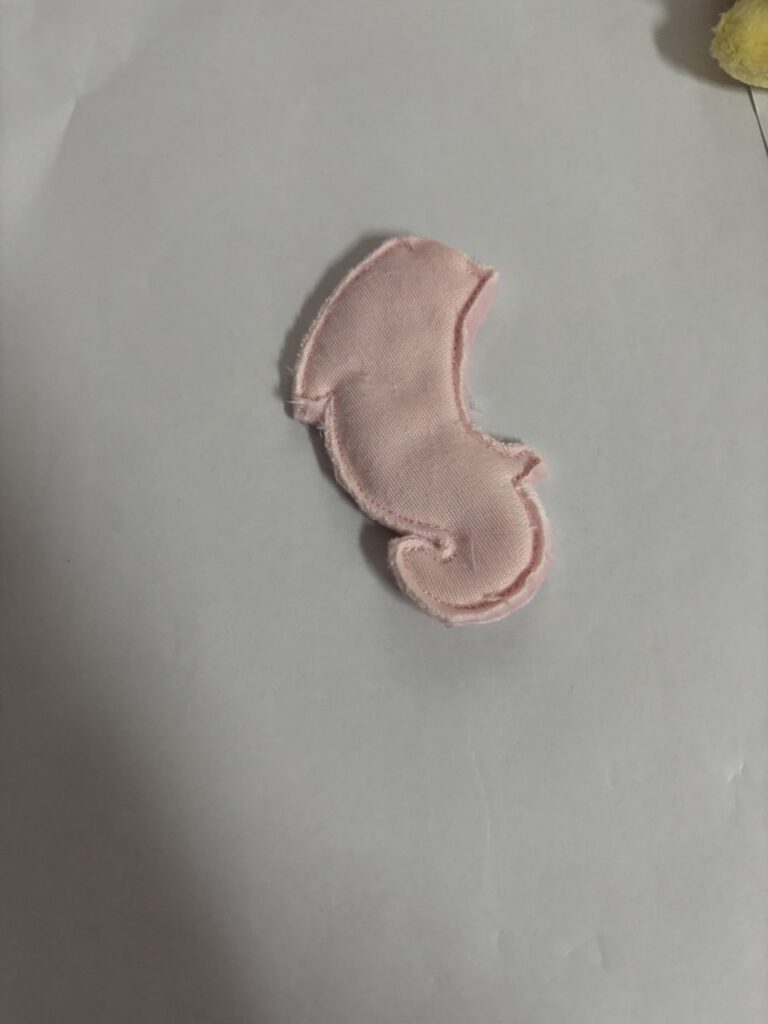
take the first mane piece and turn it around.
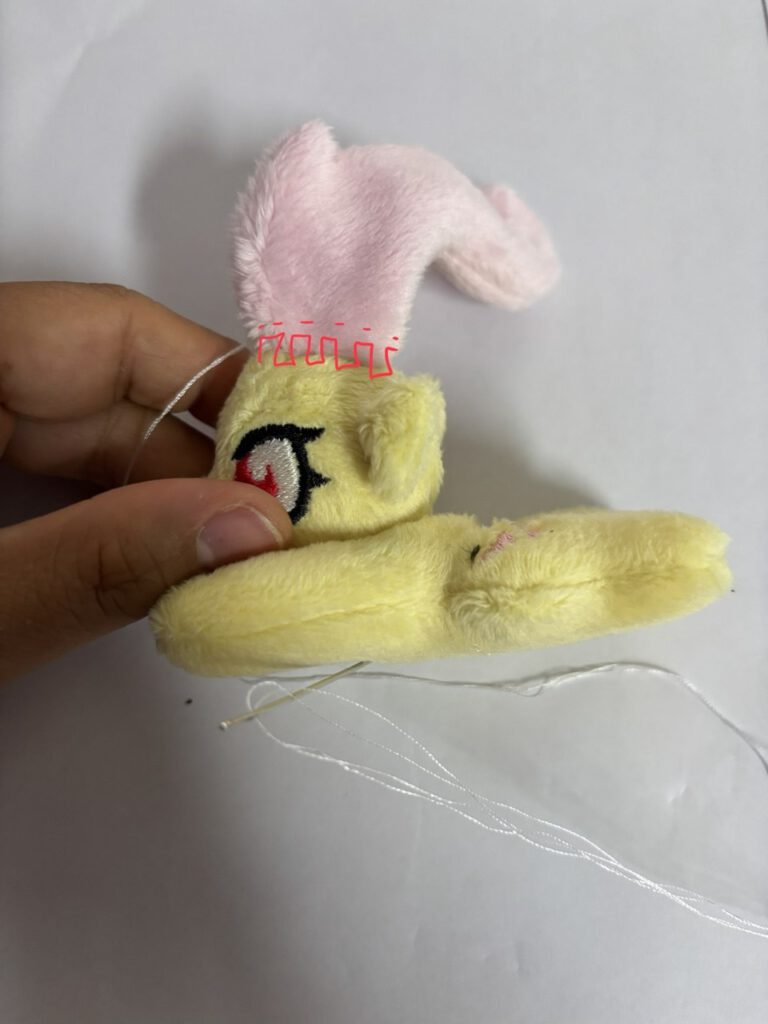
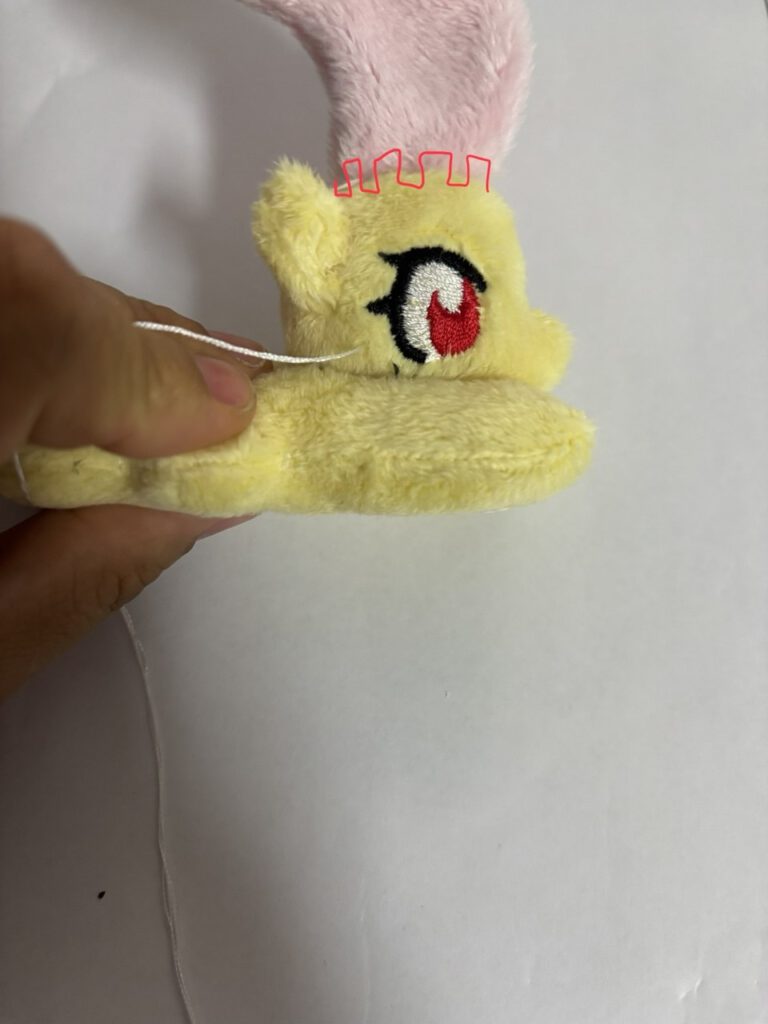
attach the top mane at the base to the head and ladderstitch around it.
you can attach the top mane underneath the lower lash by pulling the thread in a loop between mane and head to make it drop down.
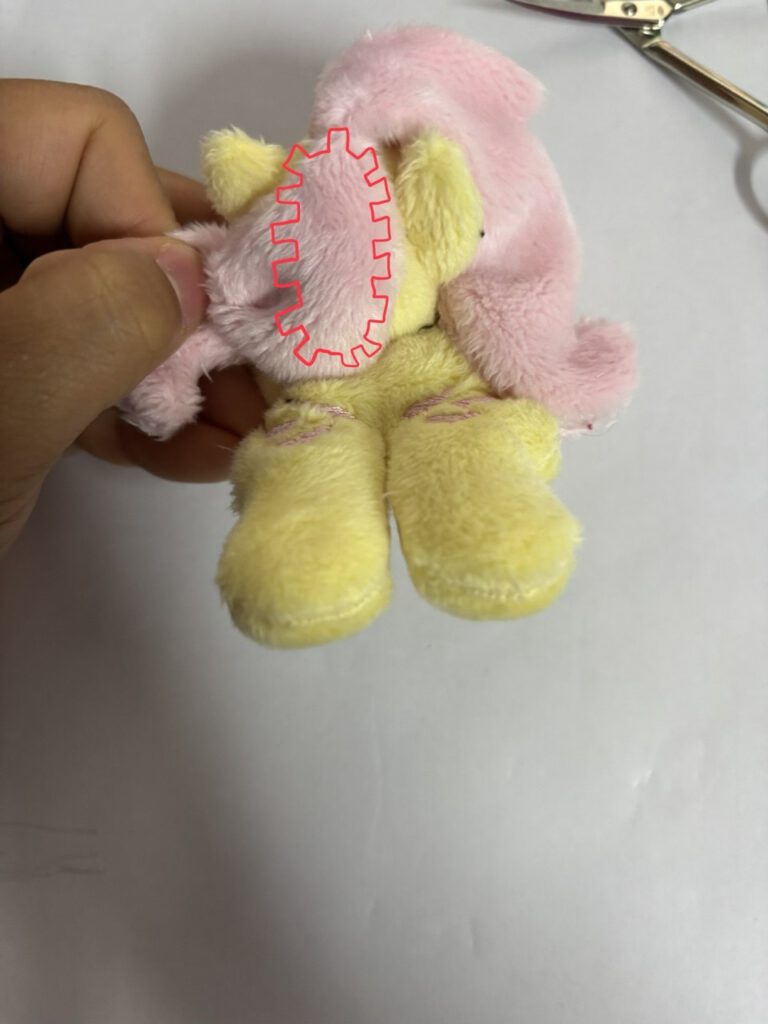
Now take the second mane part and attach it with a ladderstitch as shown in the picture.
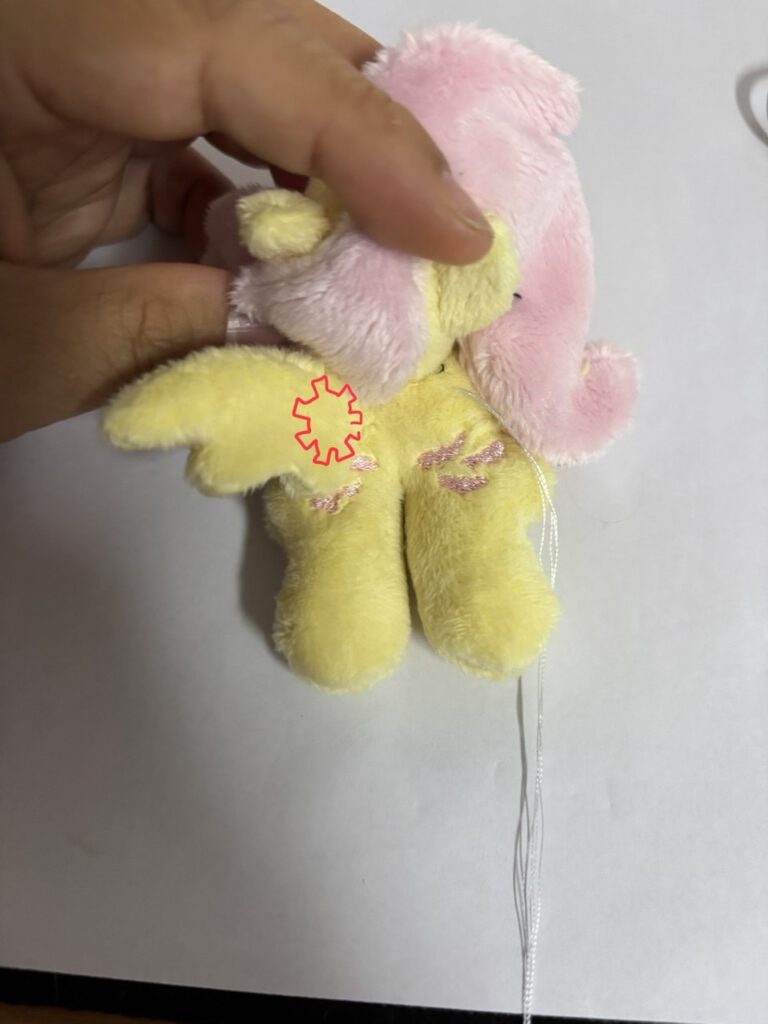
Do the same as before around the base of the wings on both side to attach them.
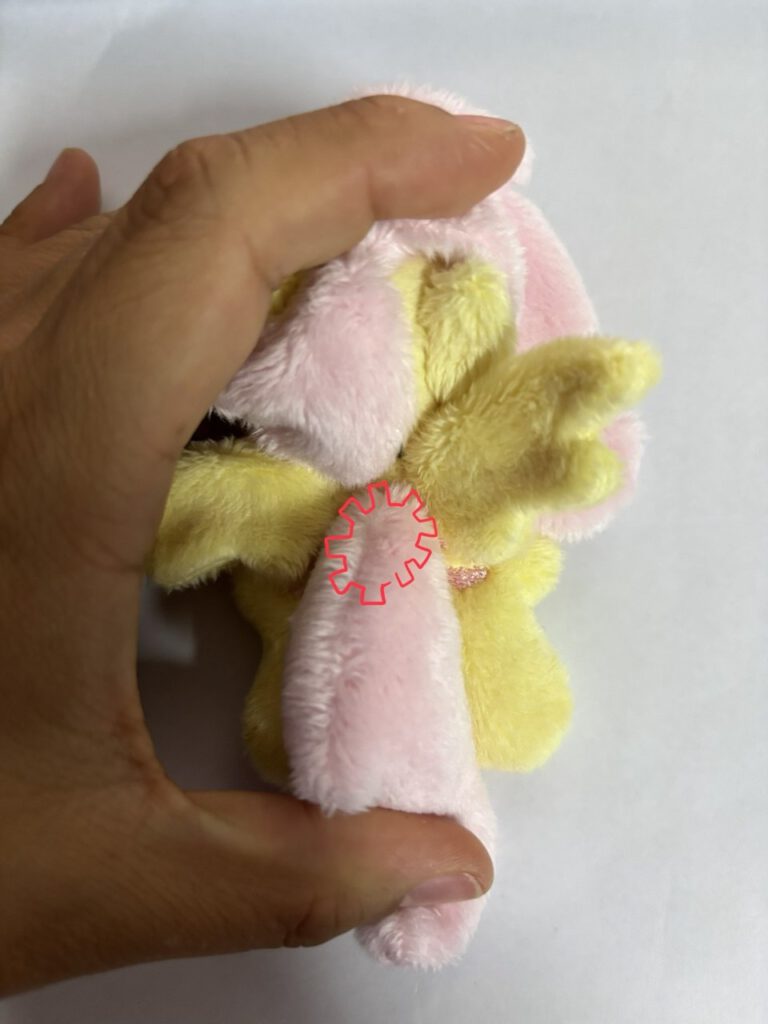
Last but not least attach the tail with a ladderstitch between the cutiemarks.
Oh wait there is more, take the little round magnet pouch and put the second magnet in it. close it with our beloved ladderstitch and you are done!
Tadaaaaa your own little chompers!
If you want to give her some extra cuteness you can take some thread like on the photo and give her a little snoot.