Fausticorn Palmpony

How to thread a needle
Wie fädel ich eine Nadeln ein

How to end sewing
Wie beende ich einen Stich

photo_2026-08-29_16-04-25

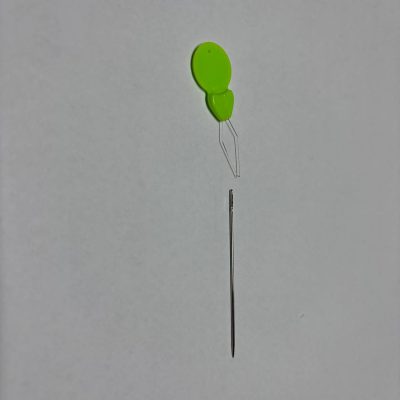
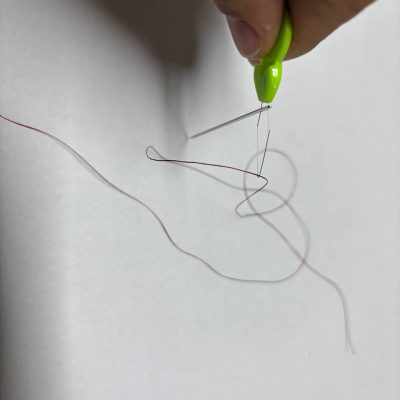
Take a needle and the threading aid. 

You can also do it without the aid, when your eyes are good.

Nimm dir deine Nadel und deine Einfädelhilfe

Du kannst den Faden auch ohne die Einfädelhilfe einfädeln, wenn deine Augen gut genug sind. 

photo_2026-08-29_16-27-33

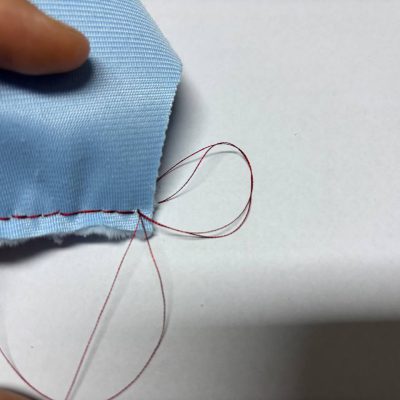
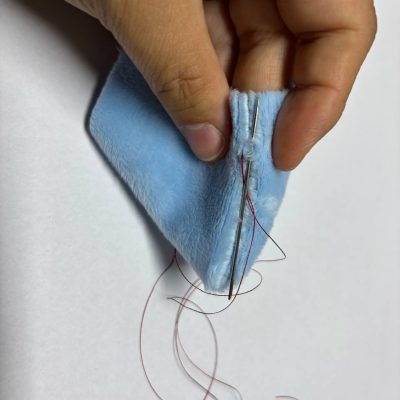
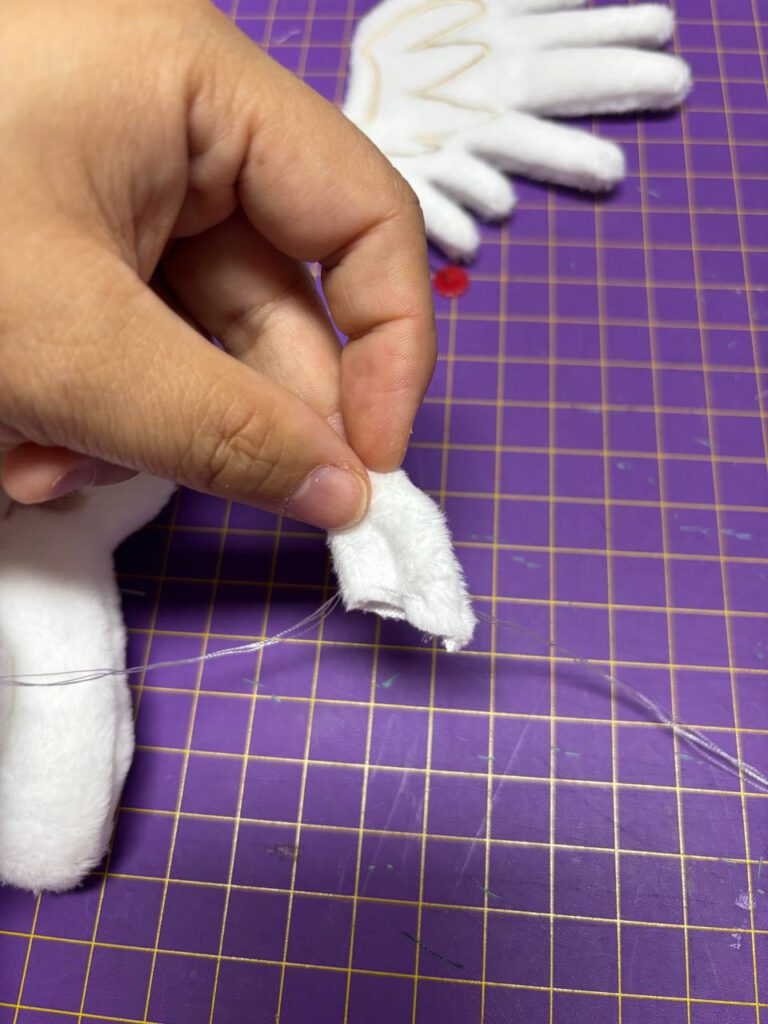
To finish a backstitch, pull the thread through the fabric and over the edge, to create a loop. like in the photo.

Um einen backstitch zu beenden ziehe das garn über die Kante deines stoffes und steche von der anderen seite durch um eine schlaufe zu machen, ähnlich wie auf dem Foto.

photo_2026-08-29_16-04-24

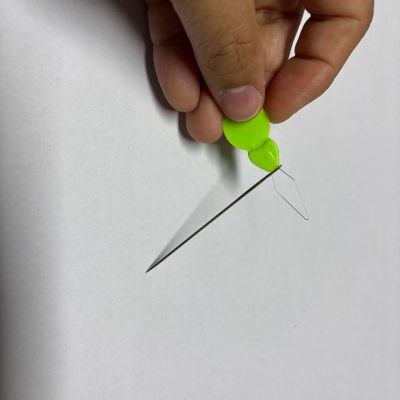
put the aid through the ear (the hole) of the needle.

Führe den dünnen Metaldraht von der Fädelhilfe durch das Öhr (das kleine Loch an der Nadel)

photo_2026-08-29_16-27-36

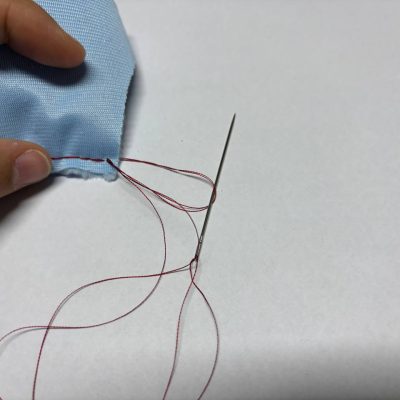
pull the needle through the loop and pull tight, to create a knot. Do this at least 3 times to make sure that it is closed.

Führe die Nadel durch die schleife und ziehe den Faden fest um einen Knoten zu machen. Mache dies mindestens 3 mal um sicher zu gehen das der Knoten hält.

photo_2026-08-29_16-04-34

Pull a few centimeters of your thread through the thin wires of the aid. now pull the thread aid out of the ear and the thread will be pulled through.

Führe nun ein paar Zentimeter des Garns durch den dünnen draht und zieh die Fädelhilfe wieder raus. Dabei sollte dein Garn durch das Öhr gezogen werden. 

photo_2026-08-29_16-27-52

To close a ladderstitch you basically do the same, but try to hide the knot in between fabric pieces or an already existing seam close to your end. 

Um die Leiternaht zu schließen machst du das selbe wie beim backstitch. Versuche jedoch hier einen spot zu finden, wie eine naht oder ein teil das du aufgenäht hast um den Knoten darunter zu verstecken.

 
photo_2026-08-29_16-04-32

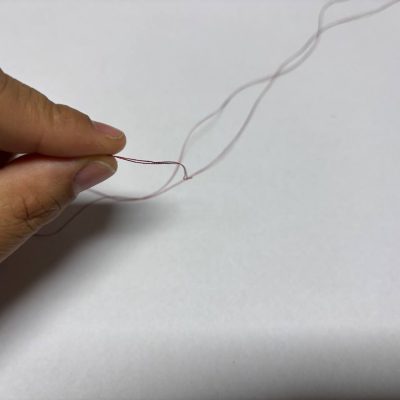
now pull both ends of the thread to the same length and make a knot. 

Now you can start sewing.

Nun zieh beide Garn enden auf die Selbe länge und knote sie zusammen.

Nun kannst du mit dem nähen loslegen.

photo_2026-08-29_16-27-59

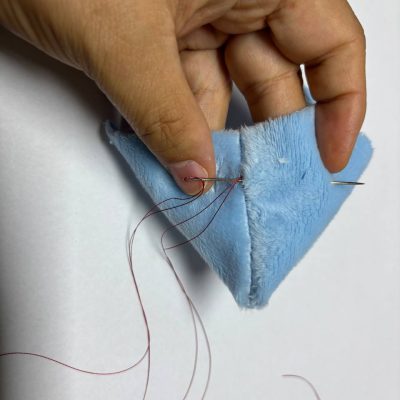
After making the knots, pull your needle next to the knot through the fabric and choose a spot to come out further away from it. Pull it slightly tight and cut it close to the body. Thread should be pulled back in to the body and be hidden.

Nachdem du den Faden verknotet hast kannst du direkt neben dem Knoten wieder in den stoff stecken und die Nadel an einerr beliebigen Stelle wieder rausziehen. Ziehe dann den Faden etwas an (Nicht zu fest) und schneide ihn knapp an der ausgangs Stelle ab, damit sollte sich der Faden in den Körper zurück ziehen. 

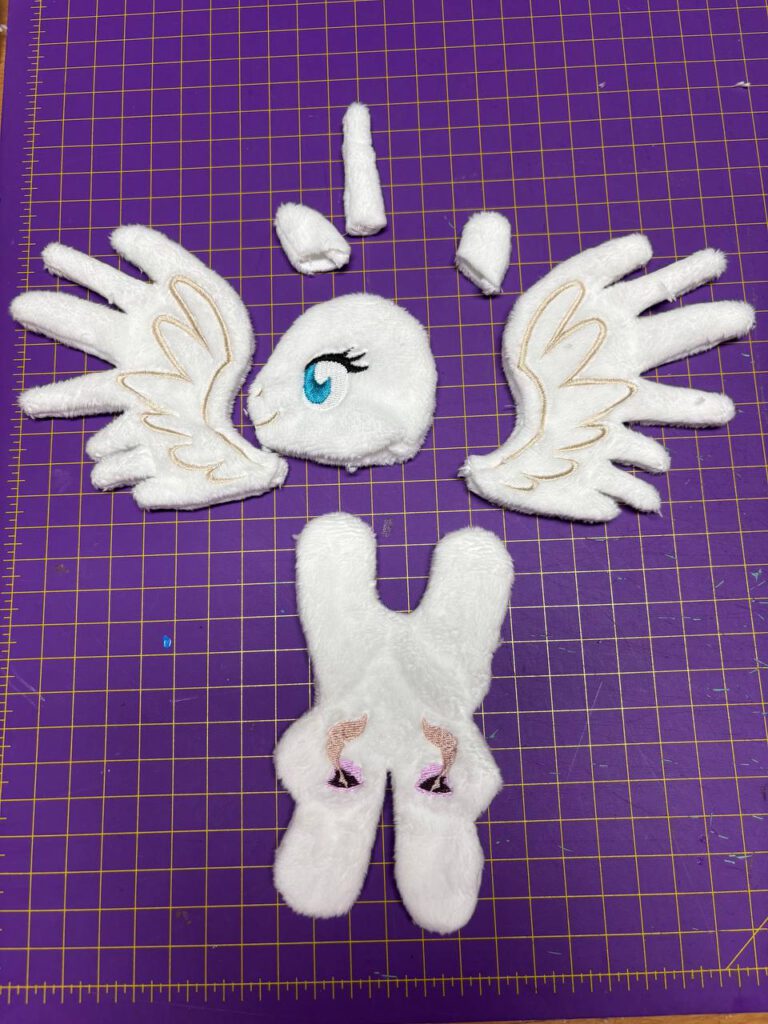
Start by carefully removing any leftover embroidery backing (The papery stuff) and turn all your body pieces inside out.

little tip for the wings: start with the feather on top pull both fabric sides a little bit apart and push the tip with the chopstick in)

Beginne damit vorsichtig alle überbleibsel vom Stickvlies zu entfernen (Das papierartige Gewebe auf der Rückseite) und drehe deine Körperteile vorsichtig von innen nach außen. 

Kleiner Tipp für die Flügel: Beginne mit der obersten Feder, ziehe die beiden Stoffseiten leicht auseinander und Stülpe sie mit Hilfe des Essstäbchens nach innen. 

Take your body and stuff it as much as you like it. DONT forget to add your magnet!

now close the body with a ladderstitch.

Do the same with the head.

nimm nun deinen Körper und Stopfe ihn so, wie es sich für dich gut anfühlt. Vergiss nicht deinen Magneten hineinzustecken, bevor du den Körper dann mit einer Leiternaht verschließt.

Wiederhole das ganze nun mit dem Kopf.

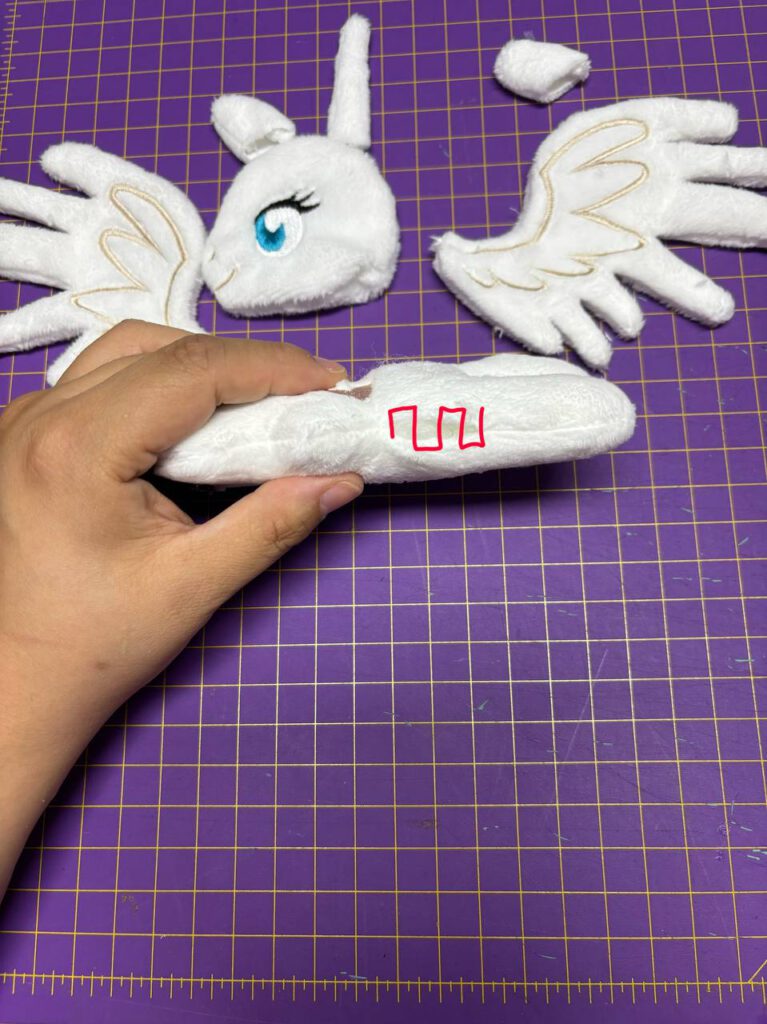
Now attach the  head to the body, make sure that there is at least a fingers width between the top of the cutiemark and the back of the head for the wings.

Nähe nun den Kopf an den Körper. Stelle sicher das du genug Platz zwischen dem Cutiemark und dem Hinterkopf lässt um später die Flügel anzunähen. Ein Finger breit sollte reichen.

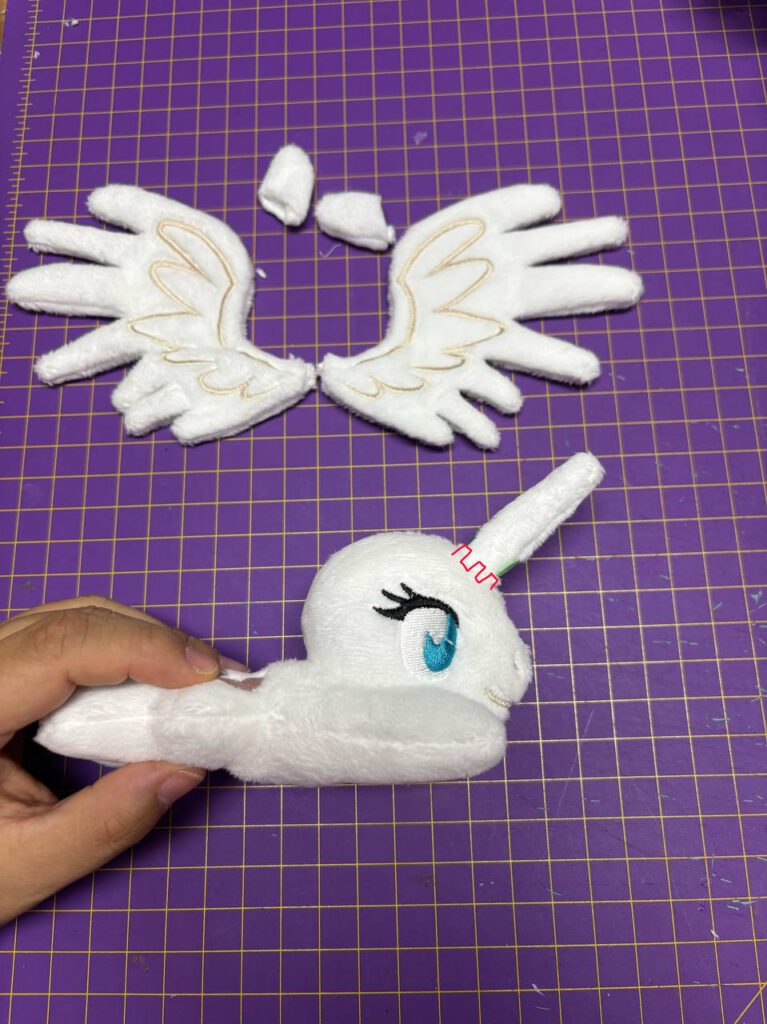
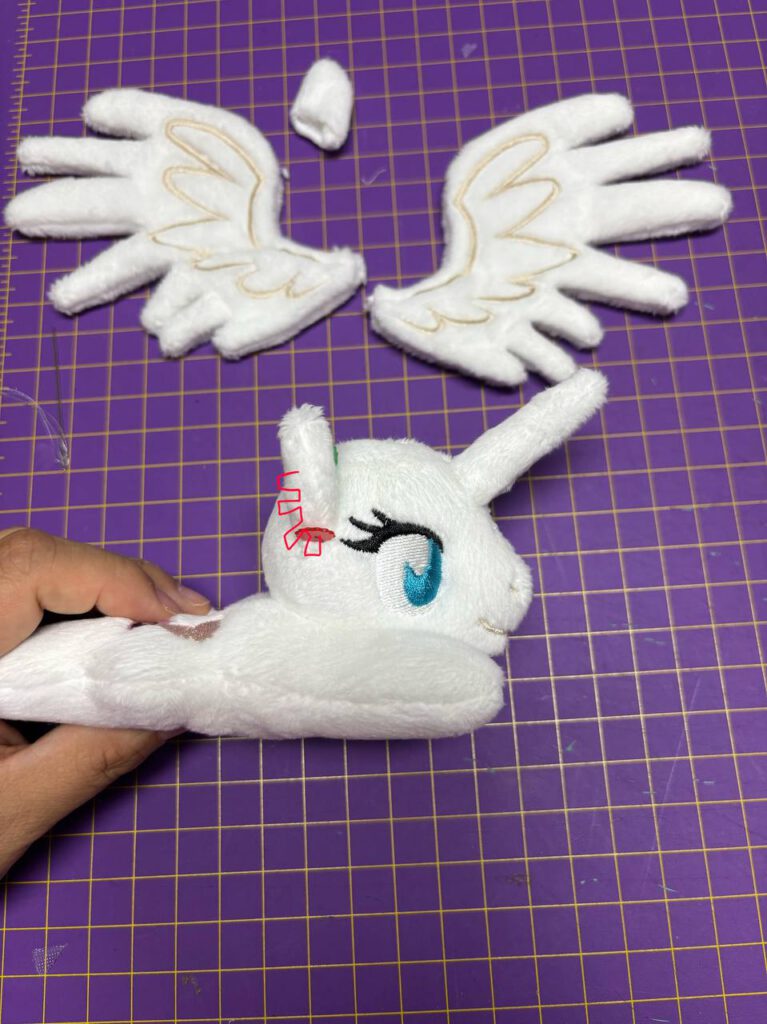
Now stuff her horn a little and attach it with a ladderstitch as well. The horn should line up with her eyes (as in the picture)

Stopfe nun ihr Horn und nähe es ebenso mit einer Leiternaht fest. Das Horn sollte sich etwa auf Höhe der vorderen außenkante ihres Auges befinden, wie auf dem Bild.


Before attaching the ear pull the thread through both outer ends of it and pull it tight so that there is a fold in between.

Bevor du das Ohr annähst, ziehe den Faden durch die beiden äußeren Enden des Ohrs und ziehe die beiden Enden so zusammen das eine Falte entsteht. 

Follow the curve of the ear with a ladderstitch to attach it to her head. The lower part of the ear should sit with a little distance behind her lowest lash.  Repeat on the other side.

Folge der Form des Ohres mit einer Leiternaht um das ohr zu befestigen. Es sollte mit der unteren etwa auf höhe der unteren Wimper sitzen. Wiederhole nun das selbe auf der anderen Seite.

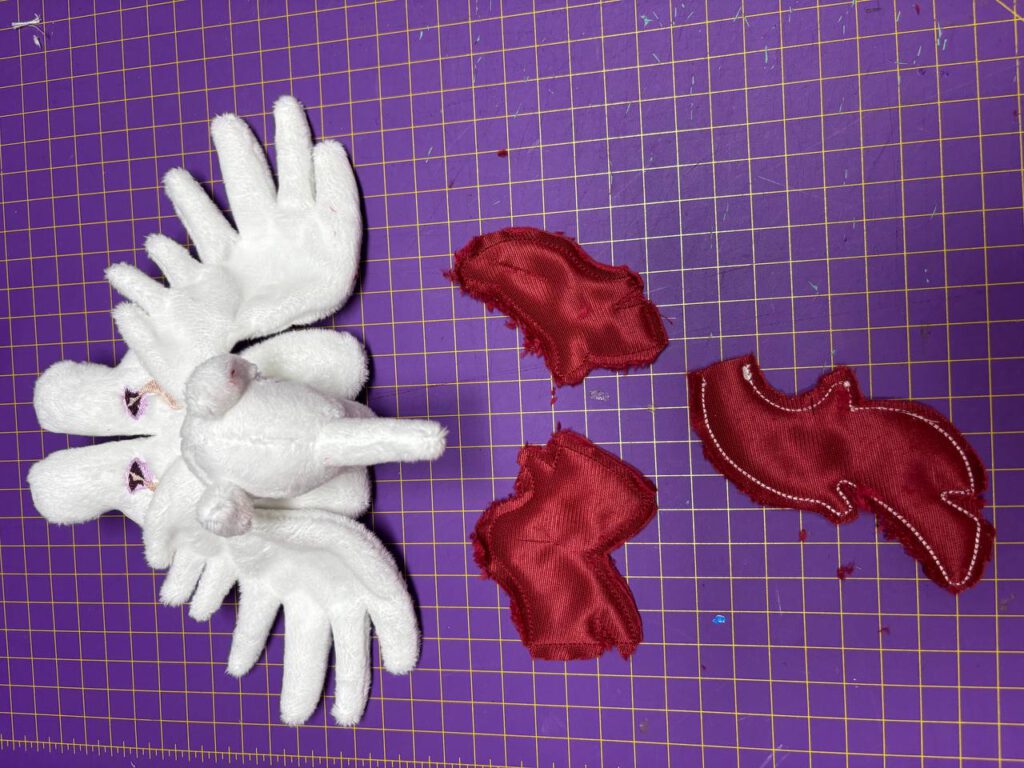
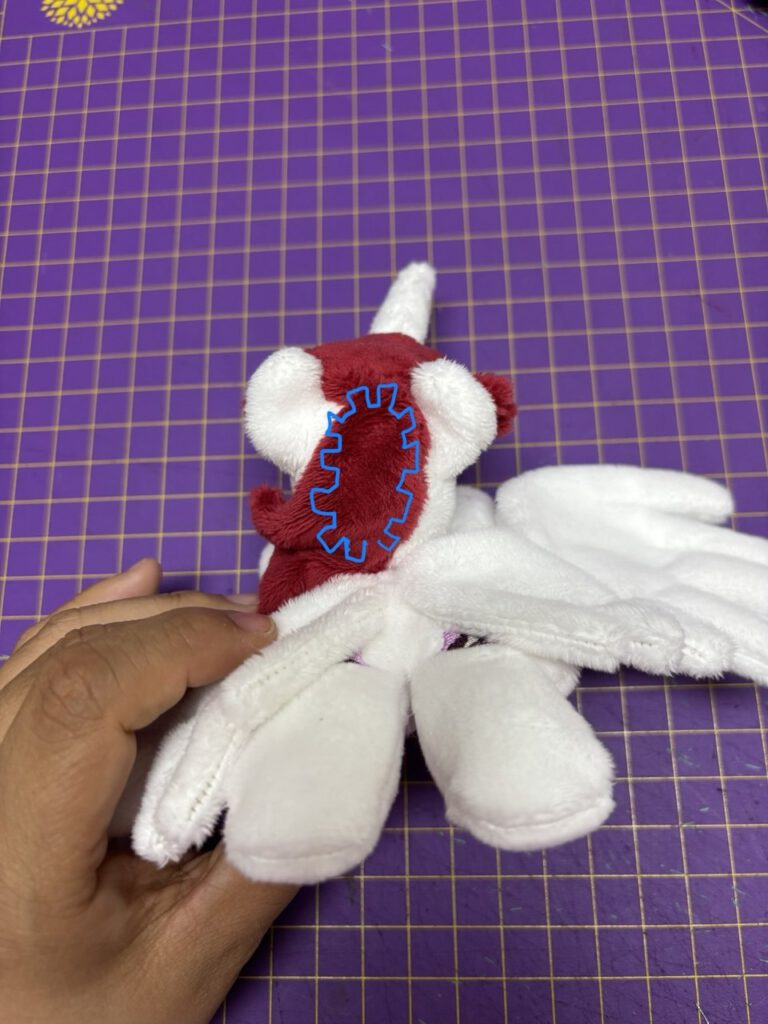
Now take your mane pieces. Two of them have a cut on one side to turn them inside out. these pieces attach to the head.

Nun nimm dir deine Mähnen teile und wende diese ebenfalls. Zwei der Drei teile haben einen schnitt auf der Rückseite, über den ihr diese umdrehen könnt. Diese beiden teile sind für den Kopf.


lets start with the piece with the V. If you positioned everything right. it should fit perfectly  between the ears and the horn. Attach it with a ladderstitch between her head and the mane to her head. If you want you can follow the hairline and the head a little to form it around her head.

Fangen wir mit dem ersten Mähnen teil an. Wenn du alles richtig platziert hast, sollte dieses perfekt zwischen die ohren und das Horn passen. Nähe es mit einer Leiternaht zwischen dem Kopf und der Mähne an. Somit hast du keine sichtbaren nähte. Wenn du möchtest kannst du auch der Form des Kopfes etwas folgen damit sich die Mähne besser an den Kopf formt.

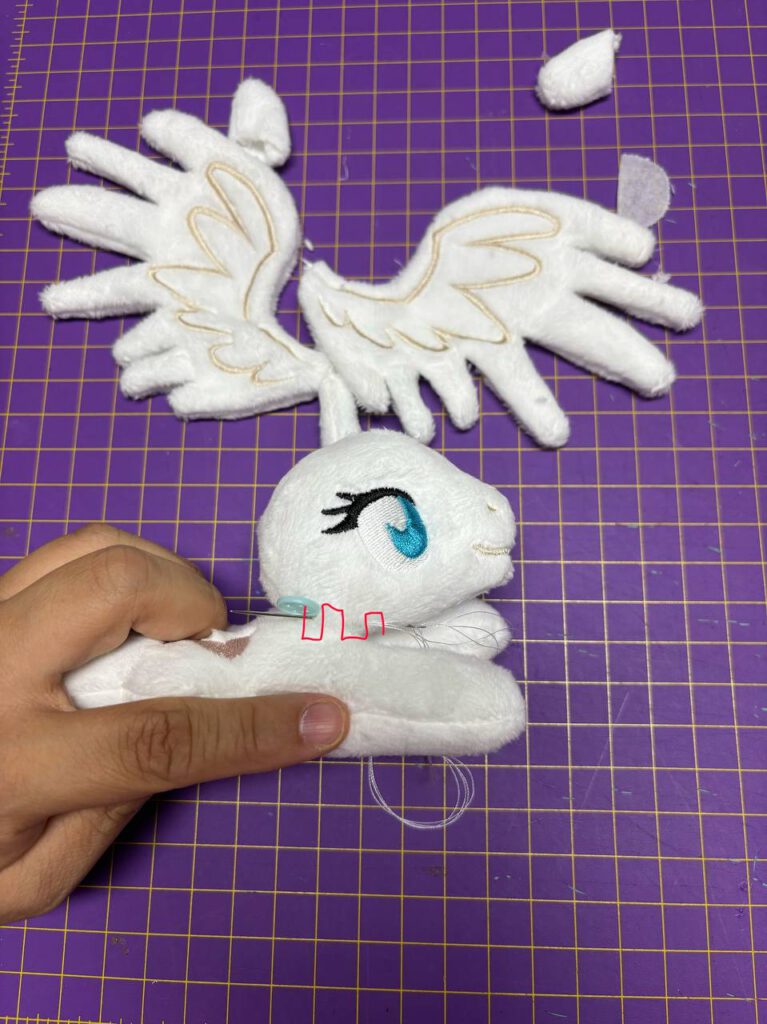
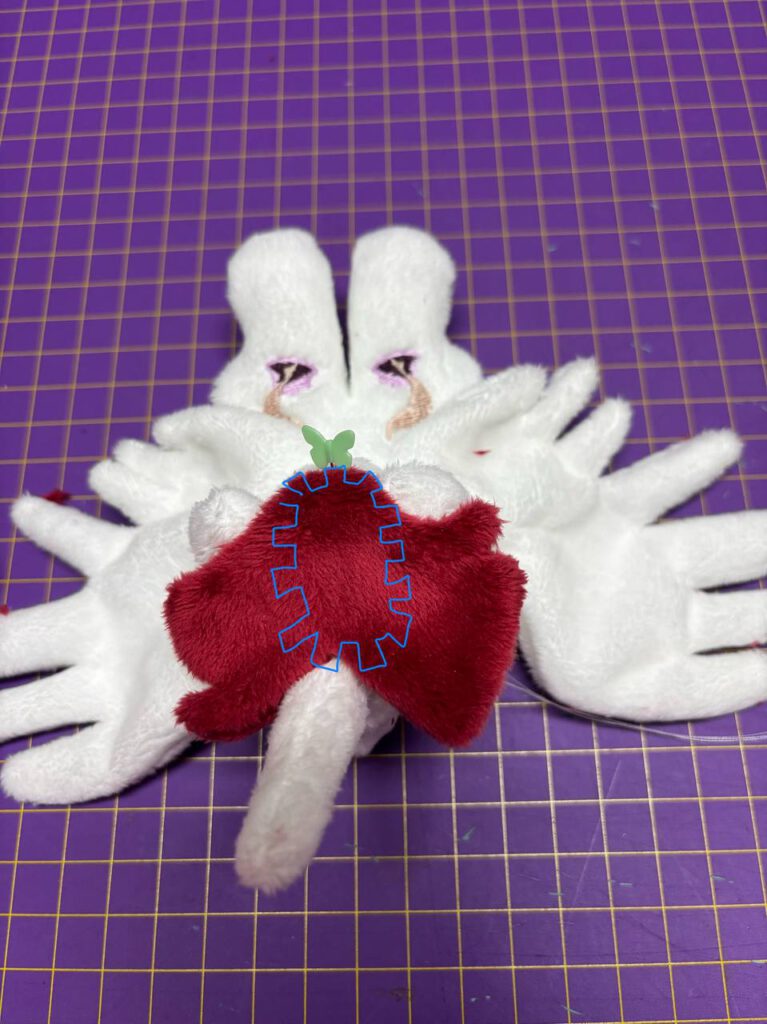
witht the second part of the mane we basically do the same as before.

(Please Ignore the already attached wings in this picture, it´s better to attach them last)

Mit dem zweiten Teil machen wir das selbe wie zuvor.

(Ignoriert bitte die im Bild bereits angenähten Flügel, diese sollten zuletzt angenäht werden)

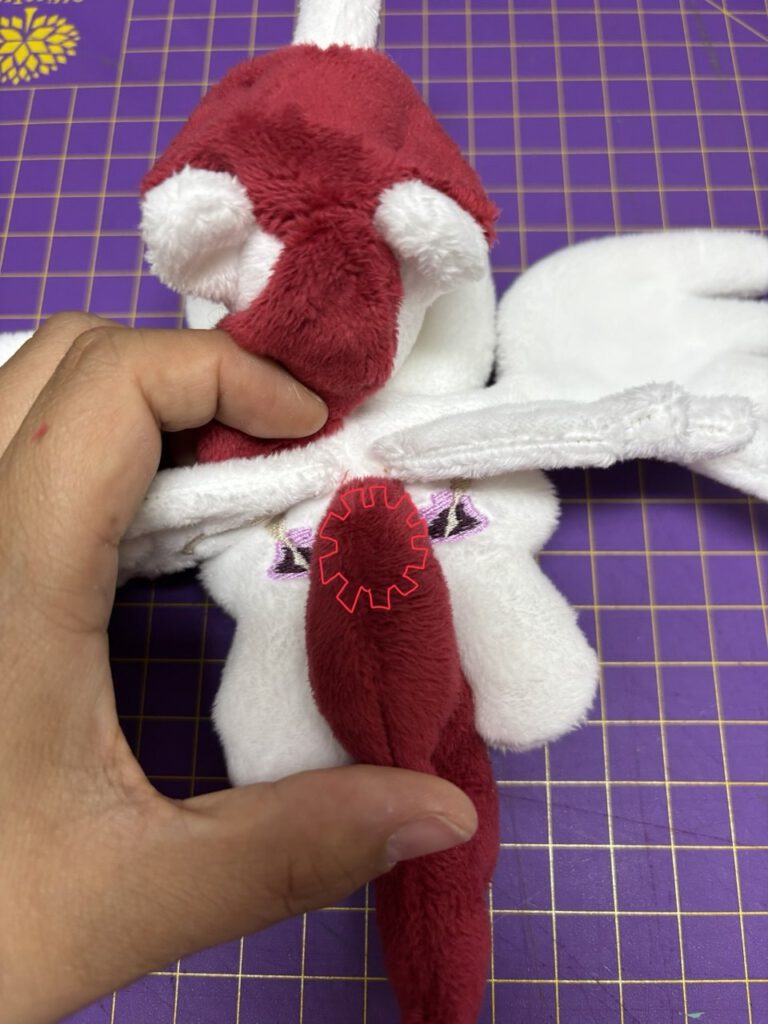
The same for the tail. Attach it around the base with a ladder stitch.

Das selbe nun auch mit dem Schweif, näht ihn mit einer Leiternaht rundherum an der Basis fest. 

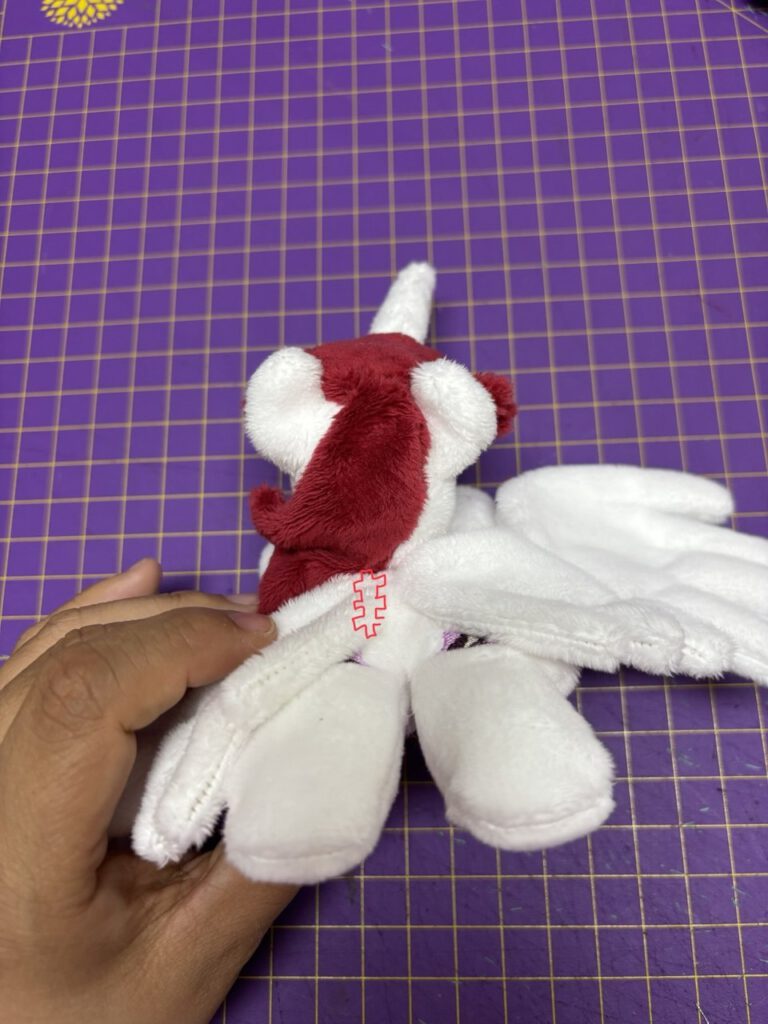
Last but not  least: the wings. Do the same as before and attach them with a ladderstitch around the base, to the back. 

Even though they where already attached in other pictures, due to the size and the little tips (where thread catches a lot) It makes more sense to attach them at last.

(It took me 4 times, sewing these kits to realize that it´s better that way… and then I forgot to take photos of it without the wings xD)

Now put the counterpart magnet in the little round pouch, close it with a ladderstitch and you are done!

Zu guter letzt: Die Flügel, befestige diese mit einer Leiternaht an der Basis zum Rücken. 

Auch wenn sie auf den Bildern schon vorher befestigt waren, macht es Sinn sie ganz zu letzt anzunähen, da der Faden sonst häufig an den kleinen spitzen hängen bleibt. 

(Hat mich 4 mal diese Kits zusammen zu nähen gebraucht um es zu merken und dann hab ich natürlich die Fotos vergessen xD)

Stecke nun den zweiten Magnet in die kleine runde Magnettasche und schließe diese ebenfalls mit einer Leiternaht um das Plushie zu beenden. 

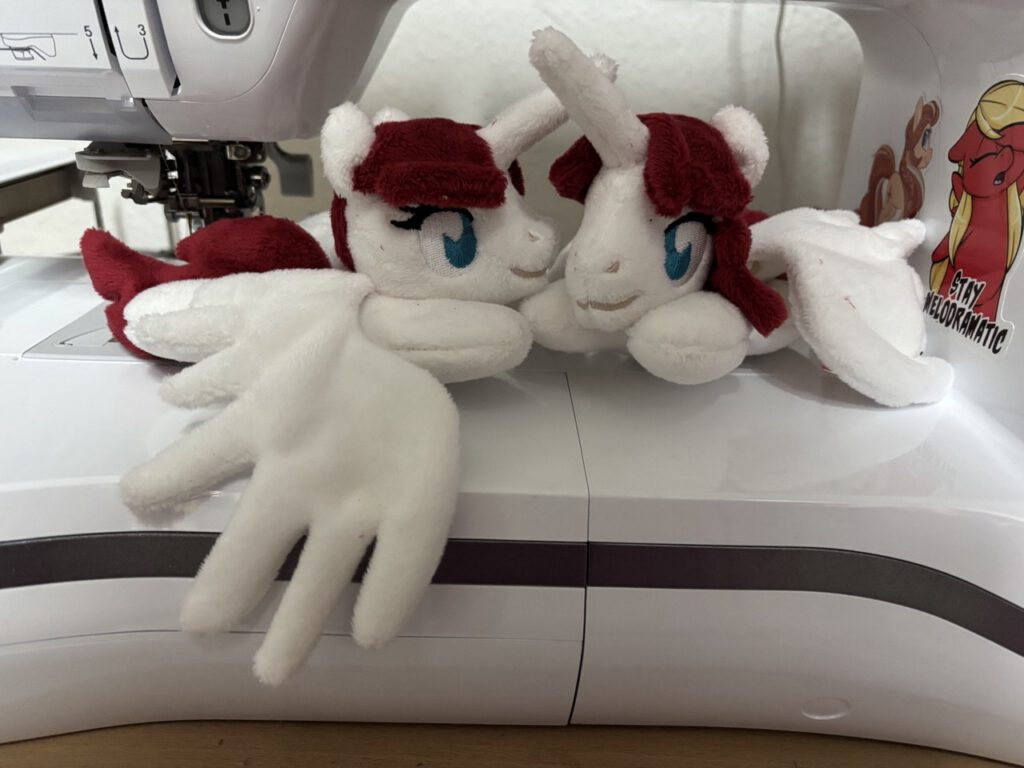
Tadaaaaaaaa